
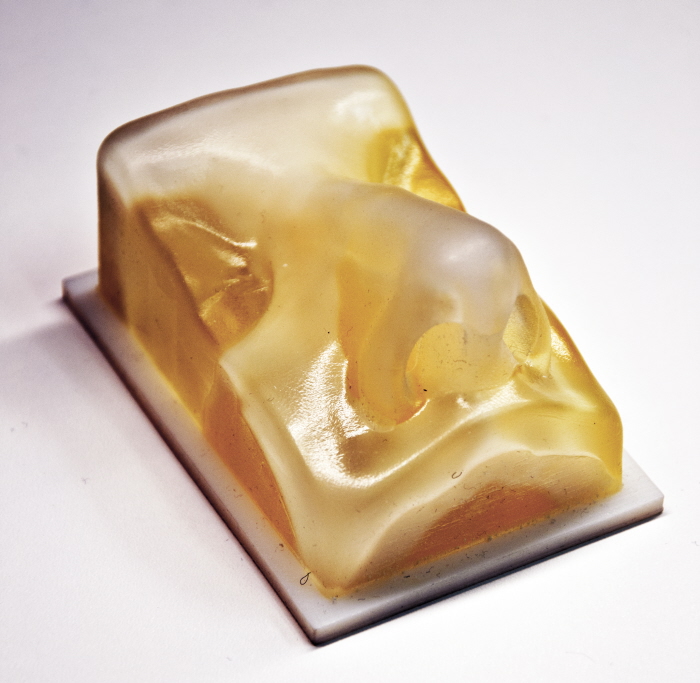
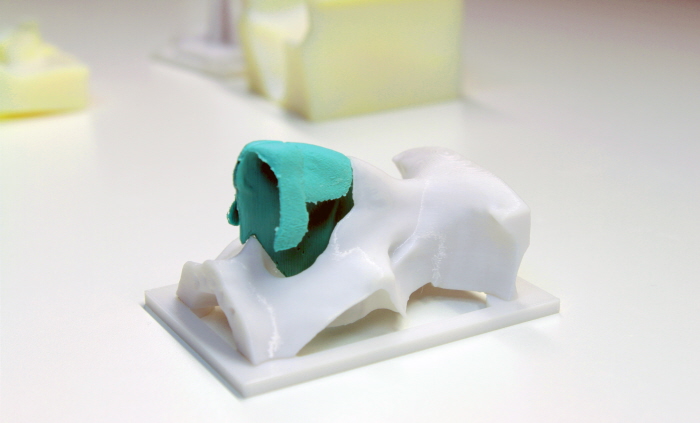
A fully 3D printed model using Tango Plus and Vero White material on a Objet Connex additive manufacturing device. Due to the high durometer (hardness) of the Tango Plus relative to softer silicones this model is too rigid to operate on easily.
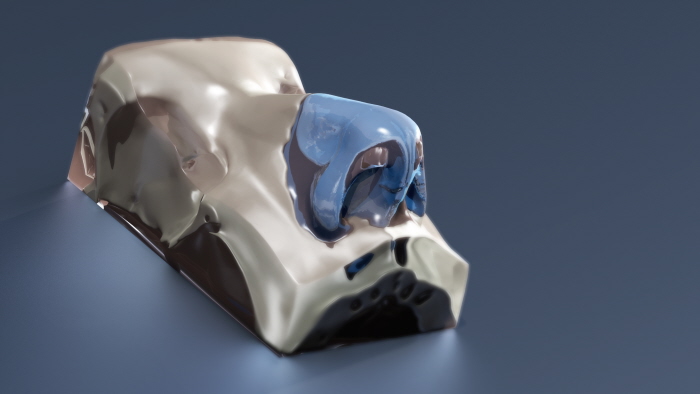
A computer generated rendering of the model early in the design process
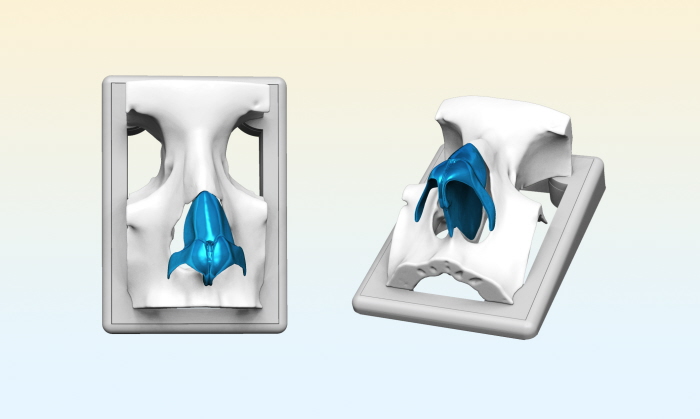
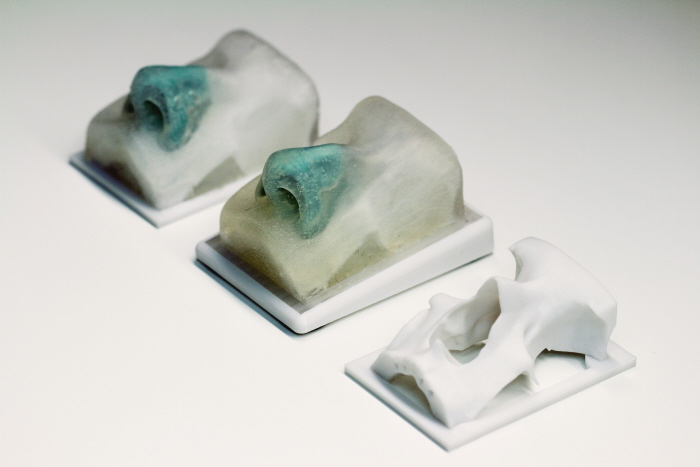
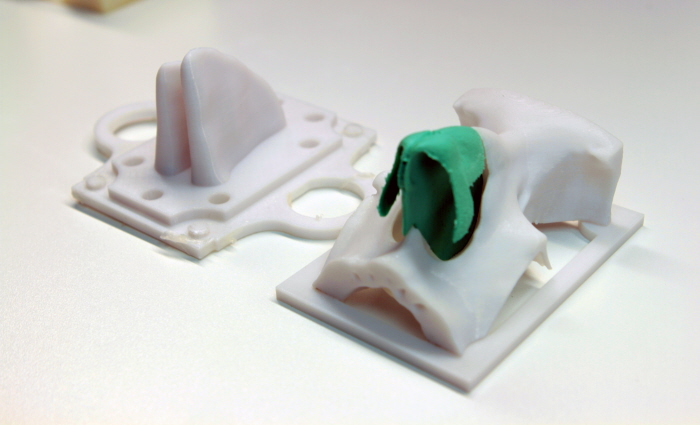
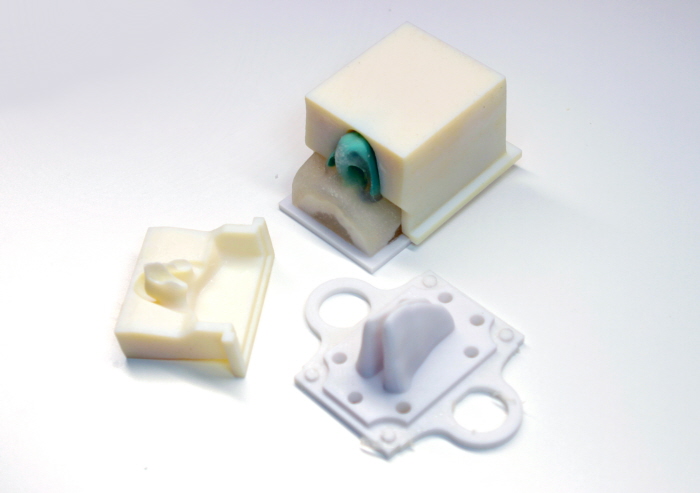
The nasal cartilage was the most important piece for this project. The nasal cartilage is made up of multiple parts including the septum, lateral, and alar cartilage. In previous versions of this training module attempts were made to create all of these cartilage pieces separately. Early in the design phase for this version it was decided that all the nasal cartilage should be cast as one solid piece to simplifying the model creation process for small production runs. The final desired cartilage piece was box modelled digitally in high resolution detail, and then digital molds were created around it. These are the resulting digital molds for the cartilage after being rapid prototyped. The base models on the left were printed in PC-iso material on a fortus 400 mc (Fused Deposition modelling). The front mold on the right was printed in Vero White material on an Objet Alaris Desktop to transmit finer detail and remove the appearance of "layers" that are a result of the FDM process.
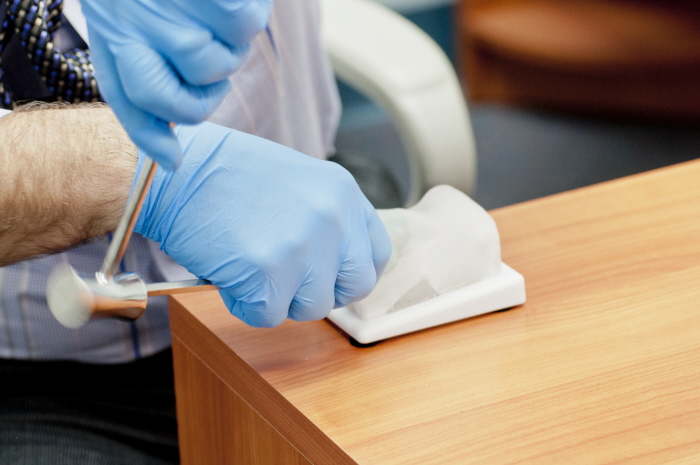
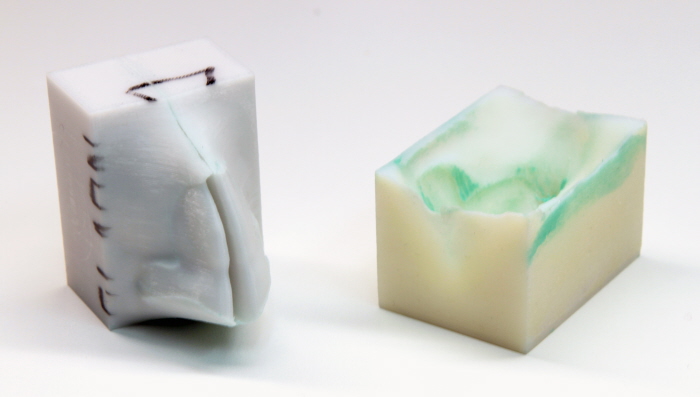
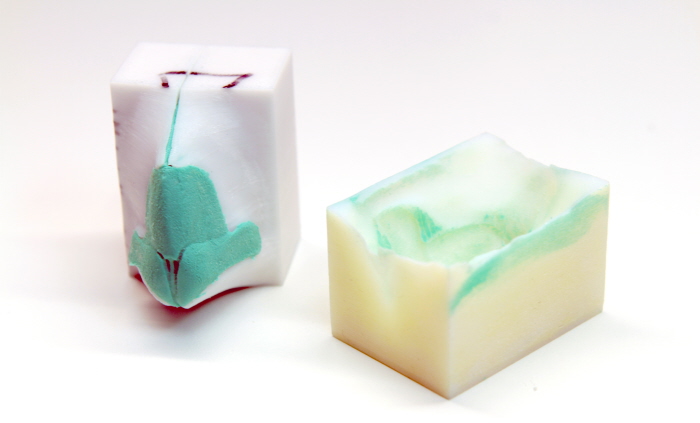
Parts A and B of Shore A 50 durometer (durometer is a scale comparing hardness) fast setting silicone are mixed and inserted into the mold by hand. This material and durometer were selected based on a plastic surgeons recommendations on the similarity to real human cartilage. The mold is then clamped down using C clamps, and the silicone is allowed to cure for approximately 10 minutes. Mold release is typically required when using the objet material for the front.
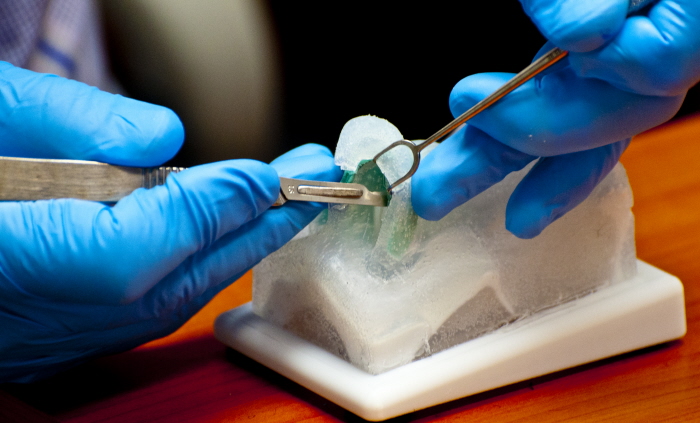
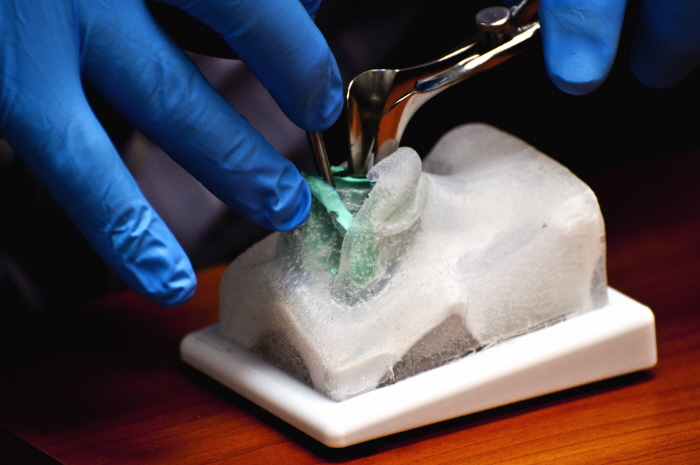
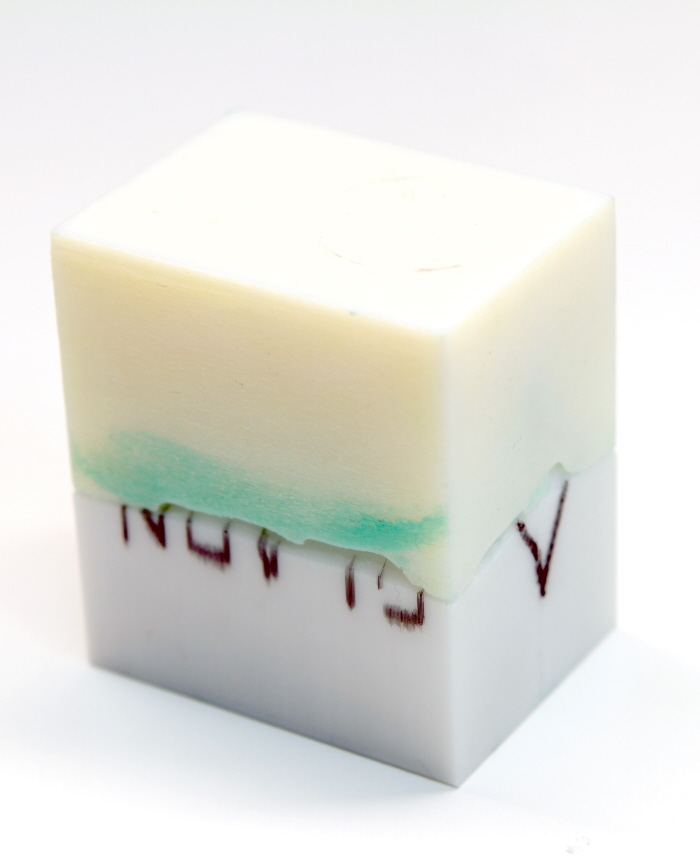
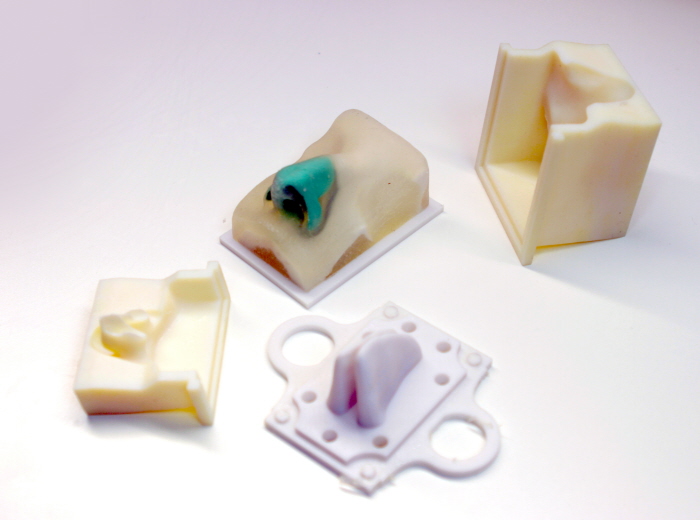
The mold is carefully separated after the silicone has cured. The front / top must come off first, care must be taken not to pull to forcefully or the the tip of the cartilage may be torn off with it. Excess flashing that doesn't fall off on its own is removed using a scalpel
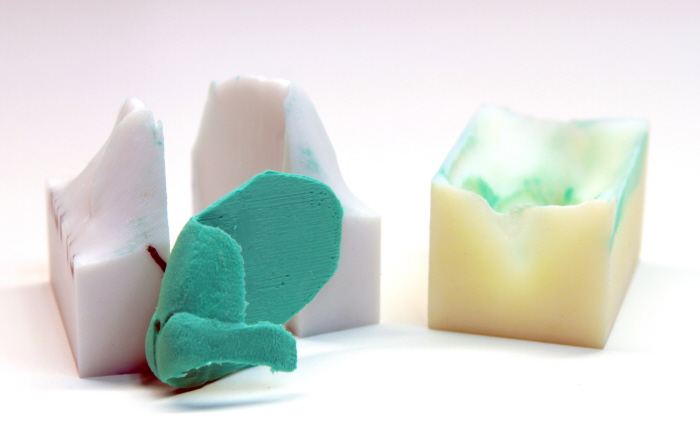
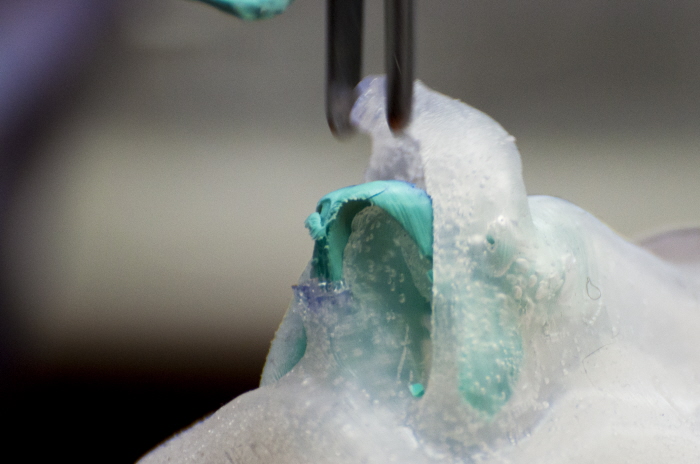
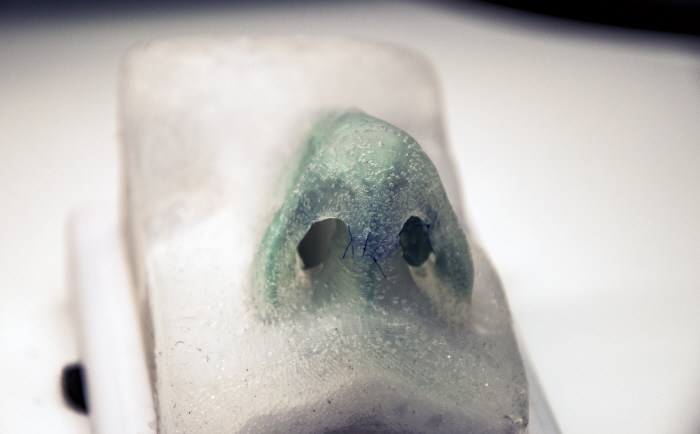
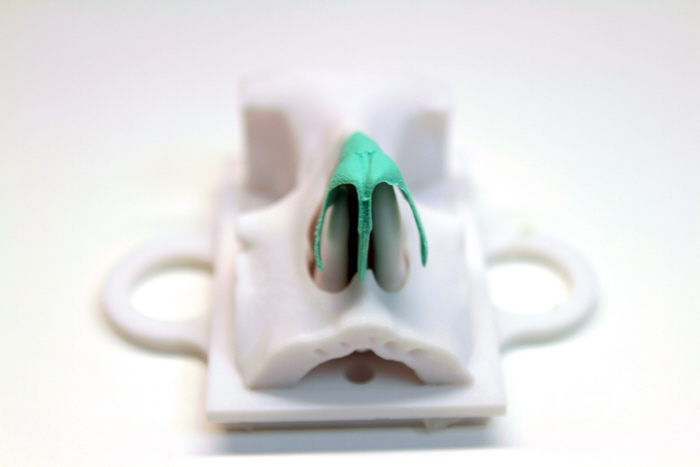
The mold is fully separated and the cartilage piece is removed. Excess flashing is removed with a scalpel. The cartilage is now ready to be used in the model.
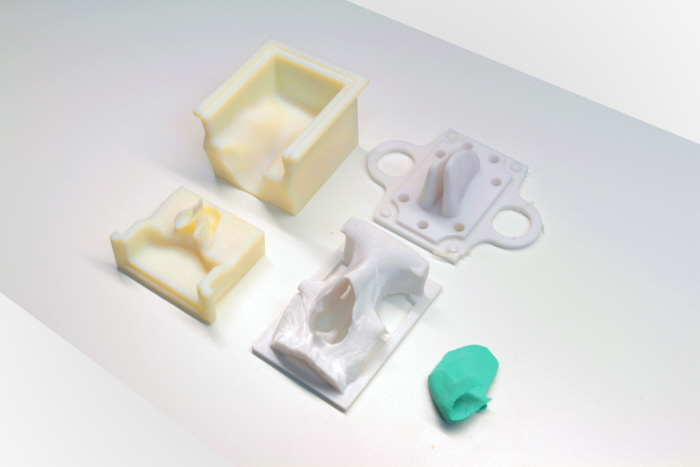
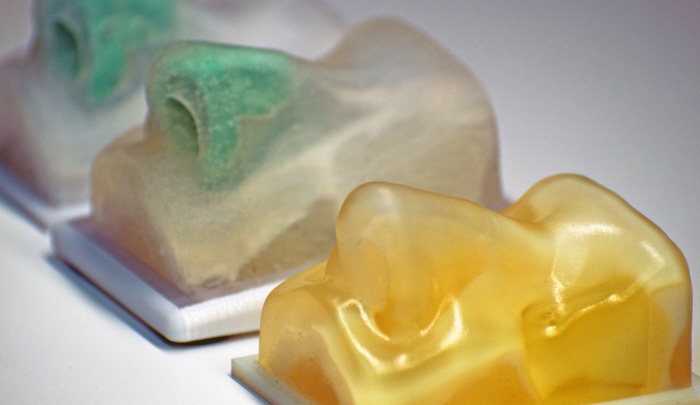
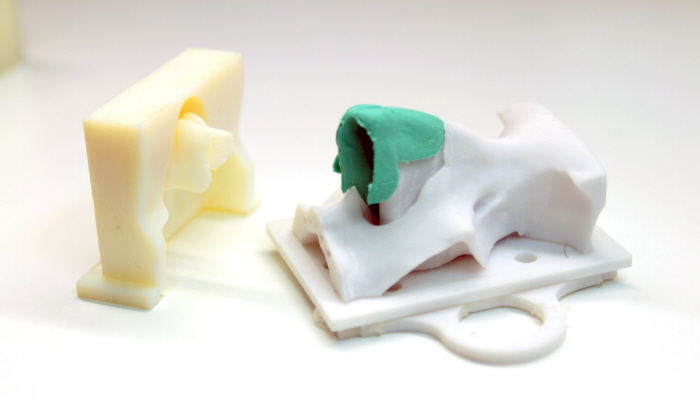
This image shows all the required parts to make a rhinoplasty model. On the left are the holds for the overall shape of the skin. These were created digitally in a similar fashion to the cartilage as described previously and then printed in Vero White material on an Objet Alaris Desktop. These molds can be re-used multiple times.
In the centre there is the skull model and the nasal passage mold. On the right is the previously created cartilage piece.
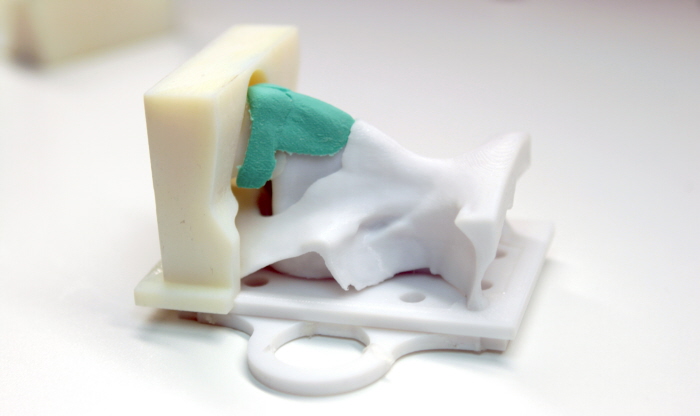
The cartilage piece is inserted into a channel in the skull made to fit snugly with the septum. Medical adhesive is also applied and allowed to set. The skull was created digitally from a CT scan but was modified heavily to ease the creation of models using an FDM process, as well as for use with the mold. One skull is printed per training module. Since part of the rhinoplasty surgery involves breaking the skull in places it cannot be re-used.
Once the adhesive has set the skull can be placed over the nasal passageway mold. The nasal passageways were designed to be removed easily after the model is completed. In real life the nasal passageway has a butterfly like appearance with undulating curves and complex geometry. To facilitate a simple mold the nasal passageways were simplified considerably. Despite the lack of undercuts, mold release is a must for the nasal passageway or it will end up stuck in the model. The nasal passageway mold / model base is printed in PC-iso on a forts 400mc using a solid fill pattern as this part receives the most abuse when removing the mold. The model base is re-usable.
The skull has been placed onto the matching keys of the model base. The interaction and tolerances between the cartilage, skull, and nasal passageways were carefully designed digitally to leave subtle layers of silicone in-between them much like in a real nose. The cartilage is also heavily coated with mold release so that any silicone does not fuse with it. This also allows the skin to move around nicely on the cartilage once the model is completed.
The bottom skin mold is designed to match up with the nasal passageway once placed correctly. It is important to place this skin mold part first to ensure a correct fit with the cartilage and nasal passageway. At this stage some silicone is placed in areas that are prone to air bubbles, specifically at the tip of the nose and the top of the cartilage.
The bottom skin mold has been placed on the model.

The top skin mold is ready to place on the model. Before placing it one last check is made to ensure the cartilage is placed correctly.
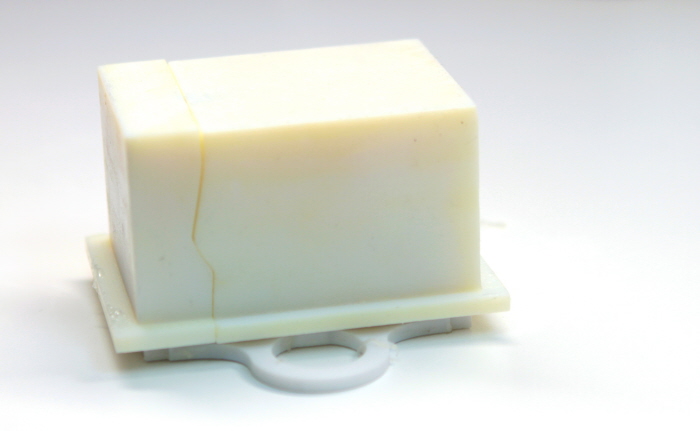
The mold is fully assembled. Elastic bands are added all around the molds so they do not separate.
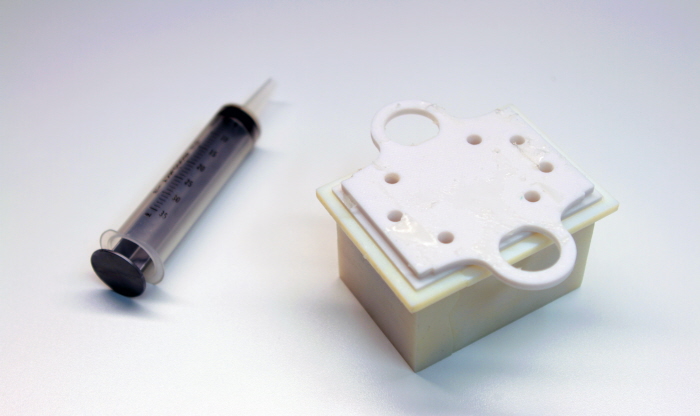
The mold is flipped upside down and silicone is inserted into a syringe. it is a good idea to place the mold on a vibrating bed to help remove any air bubbles form the silicone.
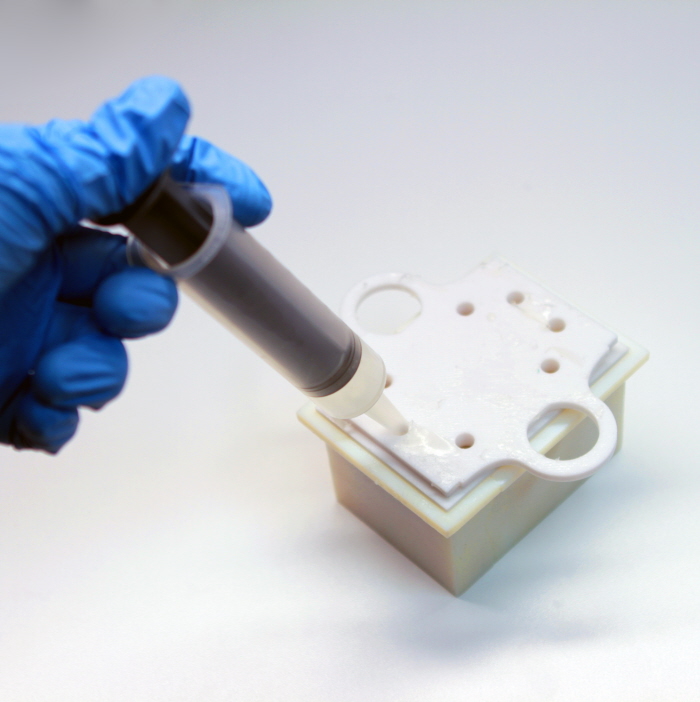
The silicone is introduced into the mold through the syringe through a variety of mold vents. The mold is filled up with silicone until all the vent holes shoot out excess material when more is introduced. Once satisfied that there is enough silicone in the mold it is left to cure for about an hour to an hour and a half at 70 degrees Celcius.
Once the silicone has set the mold parts can be removed in no particular order.
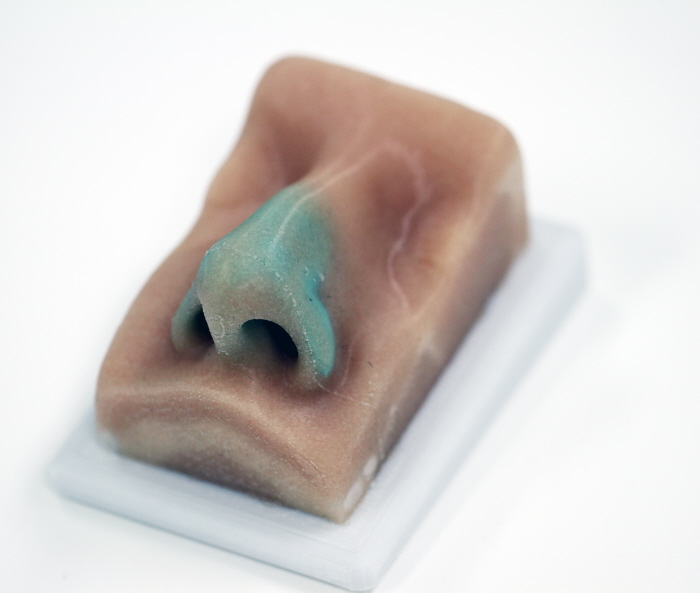
All the mold parts are removed. Small amounts of flashing around the part line of the skin mold are ground off using a sandpaper bit with a dremel and then lightly polished. Silicone vents and excess flashing on the back are removed with a scalpel. The model is now ready for surgery.
gLike
Rhinoplasty Training Module
The main goal of this project is to provide surgical training models for surgical residents specifically in nasal (rhinoplasty) surgery. Digital models were based off CT scans from a real person, and were then heavily modified to ease the creation of real world models. Molds and models were made using a Fortus 400mc 3D printer using PC-iso as the material.
Note: Surgical insight and guidance were given by Dr.Gordon Wilkes. The work presented is based off of work previously done by Ghassan Zabaneh.