To begin, here's a quick look at the interior of the nursery as it currently stands. This photo shows the majority of the system, including the exhaust fan (at top), the control and power delivery system (on the wall below the exhaust fan), the lighting system, the temperature and humidity sensor, and the circulation fan. Each of these subsystems will be discussed in further detail below. The only components not pictured here are the heater, pump, and Co2 production system.
The initial iteration of the control system used an Arduino Uno (the board at right is in fact an Uno, however it has a prototyping shield mounted on top of it) combined with a 4 channel solid state relay board. The Arduino runs a program that continuously takes data from a real time clock unit and temperature/humidity sensor and manipulates the relays accordingly. This system was simple and compact, but provided no networking capabilities.
From the outset of the project I knew that I wanted the grow box to have wireless connectivity. This feature currently allows me to view conditions in the box from campus, or even my home in New Orleans, and change parameters accordingly. My success with implementing the Arduino Uno and general experience with the Arduino platform led me to upgrade to the Arduino Yun, which boasts an onboard wifi chip and a second processor which runs a Linux distribution called Linino. To make full use of the board I gave myself an introduction to Python and Linux over my Winter break.
This photo shows the control system shortly after the Arduino Uno was replaced with the Wi-Fi-capable Arduino Yun. The breadboard in the foreground facilitates the connection of various components to the Arduino, which is the board in the center of the picture. The far board is a solid state relay board which is used to switch the power for the heater, lights, and water pump. I was unhappy with the bundled extension cords connecting to the relay board as well as the spaghetti-monster of jumper wires between the Arduino and breadboard and decided to investigate methods to clean my circuitry up.
The raw materials for my wiring cleanup. I used Molex pins and quick connect housings for the power management subsystem and ribbon cable with 0.1" pitch crimp pins to connect sensors and other components to the Arduino. Incidentally, during this process I discovered that I really really enjoy creating custom wiring harnesses using crimp pins. In fact, I may have gone a bit overboard while doing so. If you're in need of custom wiring please contact me. My desk is drowning in 28 gauge wire as you read this.
Due to the low power demands of my project I was able to consolidate my power delivery system. The white extension cord supplies power for the lighting, heating, and watering subsystems. The neutral side of the cable is broken out to a neutral bus while the hot side is distributed to one of the two terminals on each relay. The result is that the individual cords going to the heater, pump, and lights simply tie into the neutral bus and the remaining terminal on the appropriate relay. I crimped Molex pins onto my wires and utilized connectors to make shuffling things around quick and easy. Having just located a laser cutter on campus I plan to laser cut a piece of clear acrylic to cover the exposed neutral bus in the near future.
A detail shot of the power supply. By consolidating my circuit I reduced the cables entering my surge protector from 5 to 3. The black wire above the surge protector delivers power to the lights. Sugru is used once again to secure this wire in place. This is not intended to be a permanent solution although it appears to be a fairly resilient one thus far.
A shot of the full control system. The mess of jumper wires on the Arduino side of things has been replaced with ribbon cables. By cutting the cables to custom lengths and crimping my own pins onto them I was able to eliminate unnecessary wiring for a slightly cleaner look. Since this if the first picture where all of the components are clearly visible it is an ideal time to point them out to you! The blue board near the top of the breadboard is a real time clock module which allows the Arduino to keep track of the time. The green board is a voltage regulator being used in 'buck' mode to slow down the circulation fan in the box for quieter operation. The small button to the left of the regulator is a switch that allows for manual Co2 enrichment. Also visible is the transistor circuit which allows the Arduino to control the exhaust fan.
Side view of the control system. Since this was taken with the top of the box removed the cables for the servo and exhaust fan are hanging freely.
Unfortunately the walls which make up half of my enclosure are made of plaster and studs are few and far between. I initially tried to secure this bit of extension cord with nails but the difficulty of swinging a hammer sideways in an enclosed space filled with delicate electronics eventually made me come up with another strategy. I decided to use Sugru, which is is a hand-formable material that cures into a flexible and tough silicone rubber. Although I don't see it as a permanent solution it has held up admirably thus far.
In most cases Carbon dioxide levels are the limiting factor in plant growth. To speed my garden along I decided to implement a Co2 enrichment system in my grow box. The cheapest enrichment method involves harvesting the Co2 produced as a byproduct of fermentation. The darker bottles on the left contain sugar water and yeast. The yeasts adore snacking on sugar water and happily burp useful Co2 while doing so. The servo in the picture is attached to a ball valve which prevents gas from entering the box until the program says to enrich the box. This allows me to regulate the enrichment and turn it off at night when plants to not photosynthesize, and thus, do not require Co2.
Sugru to the rescue once again! This servo controls an airline valve that interrupts my Carbon dioxide enrichment line.
To hold the valve body still while the valve handle is turned I whipped up this little eyesore using steel wire and electrical tape. It worked rather well but I was unhappy with its curb appeal. As a mechanical engineer I felt that my electrical and programming skills were showing my mechanical skills up when I looked at this thing.
To more securely mate the servo and ball valve I designed this valve housing in Solidworks. The valve fits into the cut-out area near the left edge and the airline tubing connects to the valve through holes on the left and right sides of the housing.
The pumping system is simple indeed. Its power supply is controlled by a relay and when turned on it pumps nutrient-rich water from the 5 gallon bucket into the box and to the plant using 1/4" line.
A detail view of the water pumping system showing the inlet and outlet tubing.
The heating system is very simple. A 200 Watt ceramic heater is used to provide heat to the nursery when the temperature in the box falls below temperatures specified in the code. The program currently sets a higher desired temperatures for day and a lower desired temperature night, simulating what the plants actually see in nature.
A view of the bottom half of the box. The white module on the right is the temperature and humidity sensor. It is secured to the wall with velcro and can be placed in different positions based on the height of the plants. The fan here is used to circulate the air in the box, eliminating pockets of excess humidity or heat. Additionally, since Co2 is heavier than air it would tend to settle in the bottom of the box. The fan is also intended to help stir this Co2 back into areas where it can be used by the plants.
The top of the grow box as seen from the exterior. The exhaust fan is protected by a bit of gutter screen that I cut down to size with a dremel and a toilet plumbing fitting. The small hole in the center of the top allows the suspension wire, Co2 line, and servo wire to enter the box.
A detail view of the interior of the top of my enclosure. The 80 mm exhaust fan is shown.
An exterior shot of the box. At the top we can see the Co2 fermentation system, the suspension system for the lights, and the exhaust port. The glowing hole near the bottom is the intake port.
A shot of the box's interior with the door on. Adding the terrace has allowed me to maximize space for plants to grow without significantly interrupting light. Adding a small LED light to the underside of the terrace is an idea that I plan to explore.
This screenshot shows typical output of my system when the Arduino is accessed over ssh. All of the vital information is shown on this screen, which is updated every few seconds.
I neglected to take photos of the first round of plants grown in the garden, but here is a photo of the second round including cilantro, and sundews in various stages of life.
Although my Arduino Yun has served me well thus far my program is bumping into the Yun's system memory ceiling and I've used all but 3 of my available I/O pins. Soon I plan to upgrade the system to run on a BeagleBone Black (BBB), which boasts gaudier specs than the Yun in every category at about two thirds of the price. Additionally, since the BBB is an open hardware device it fits well into my plans to consolidate all of my electronics into a single printed circuit board in the future.
gLike
Automated Plant Nursery

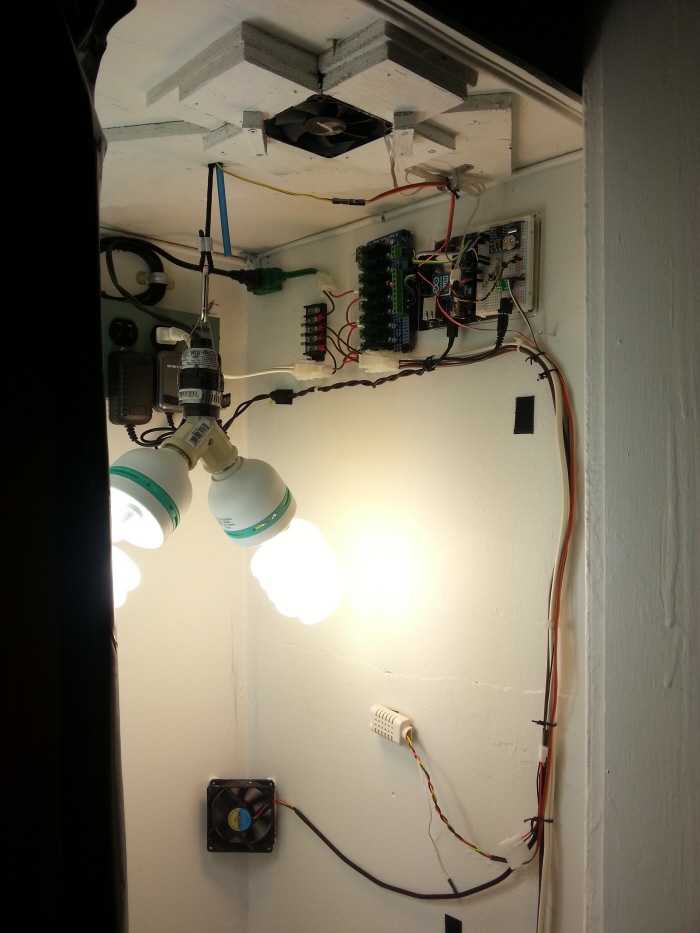
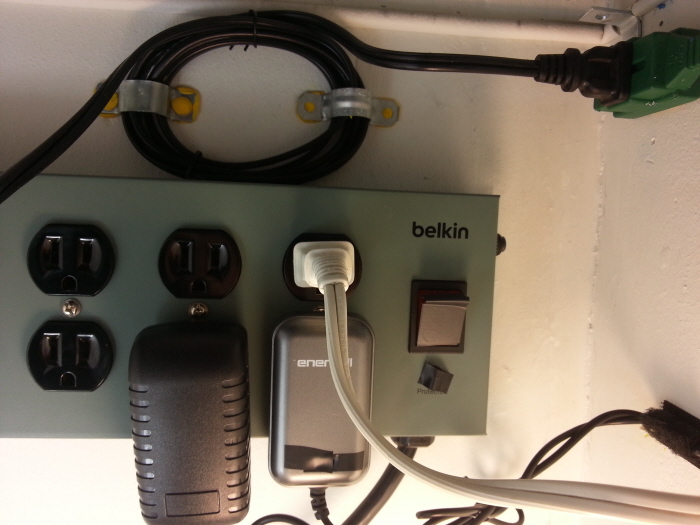
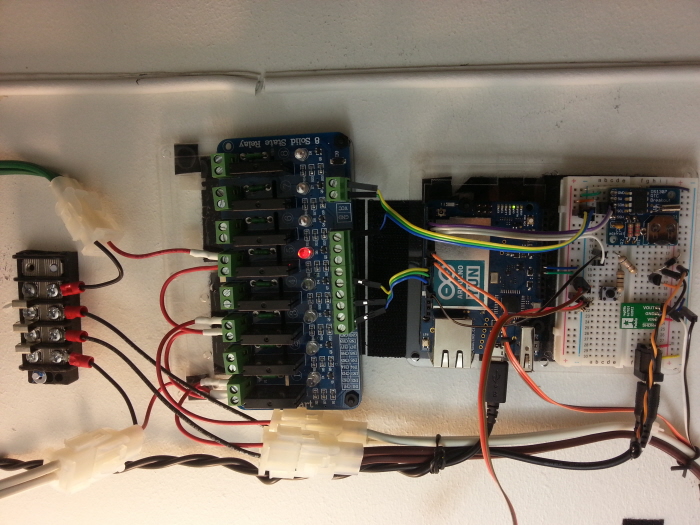
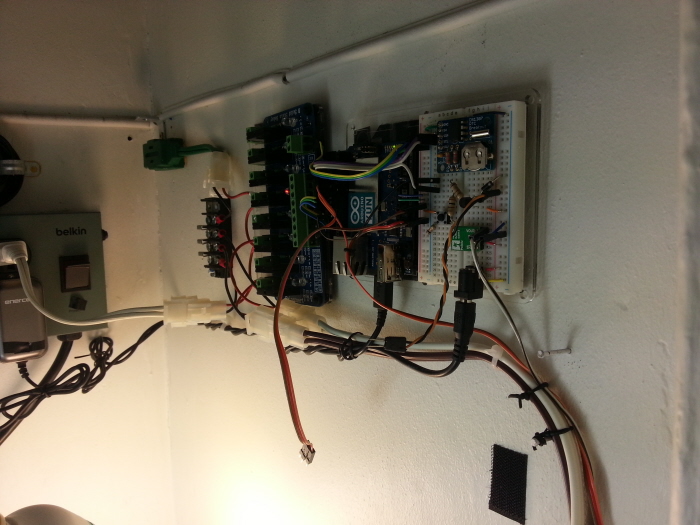
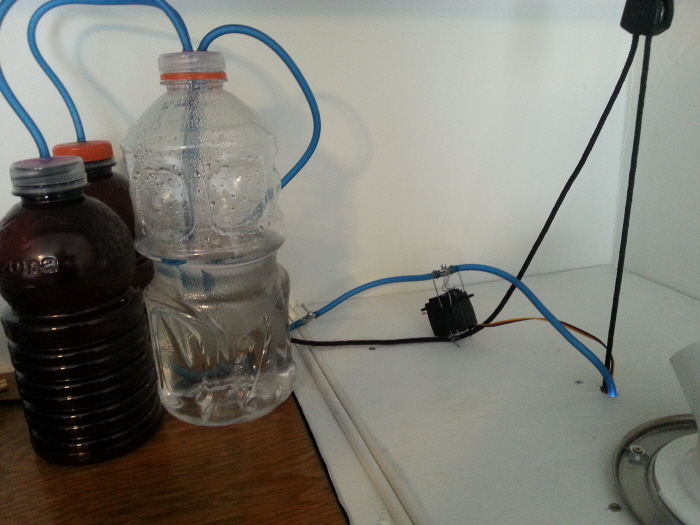
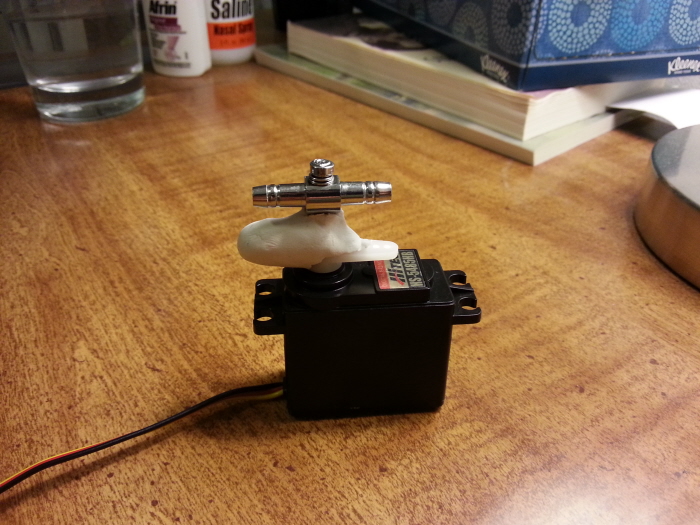
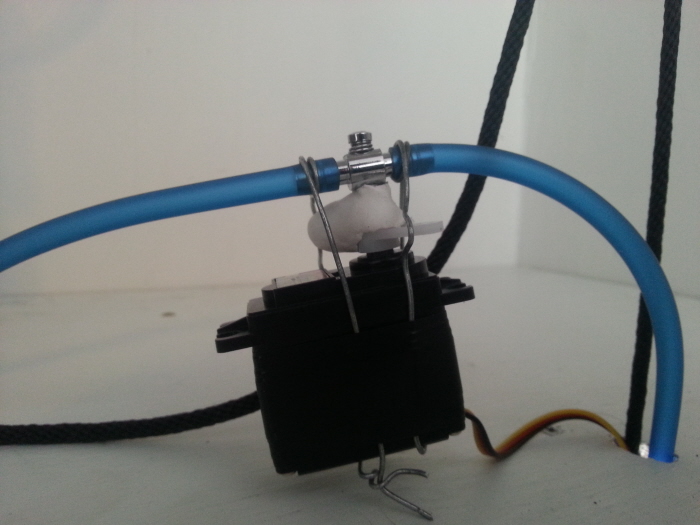
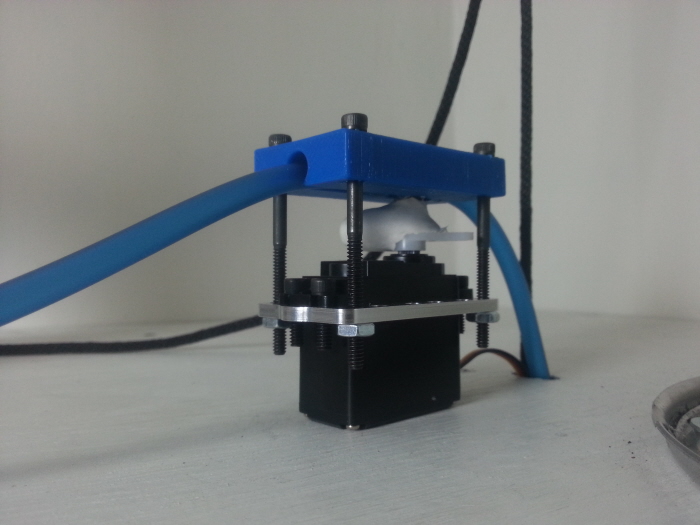
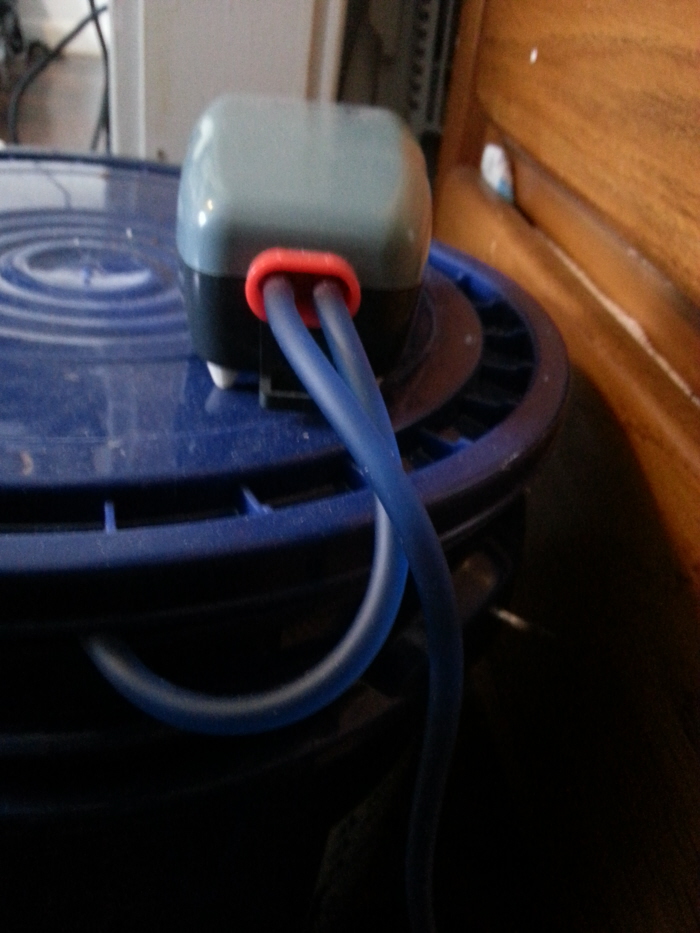
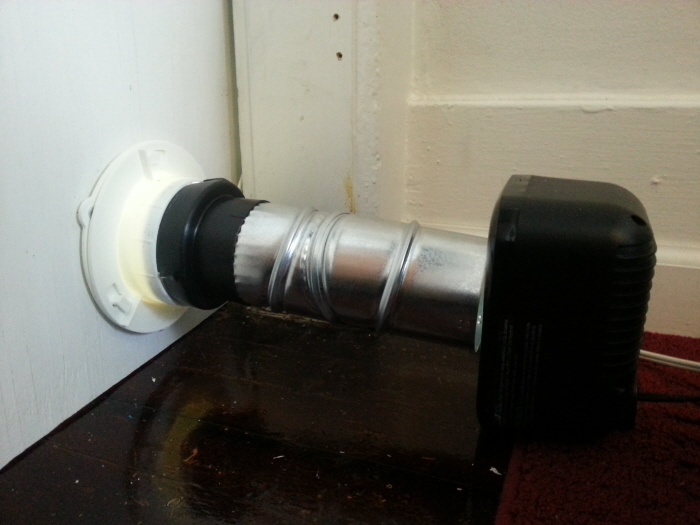
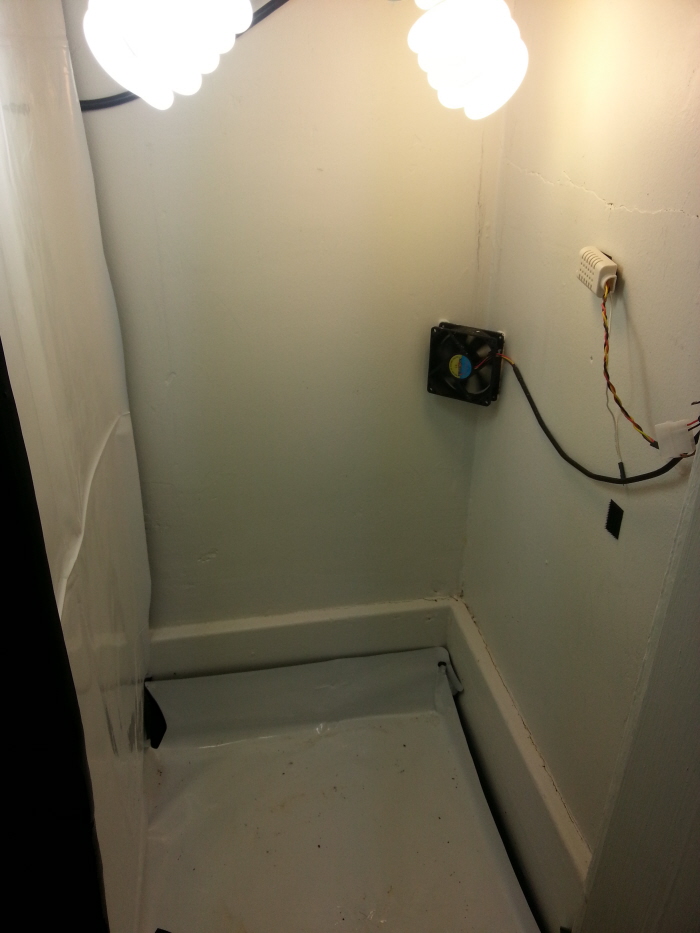
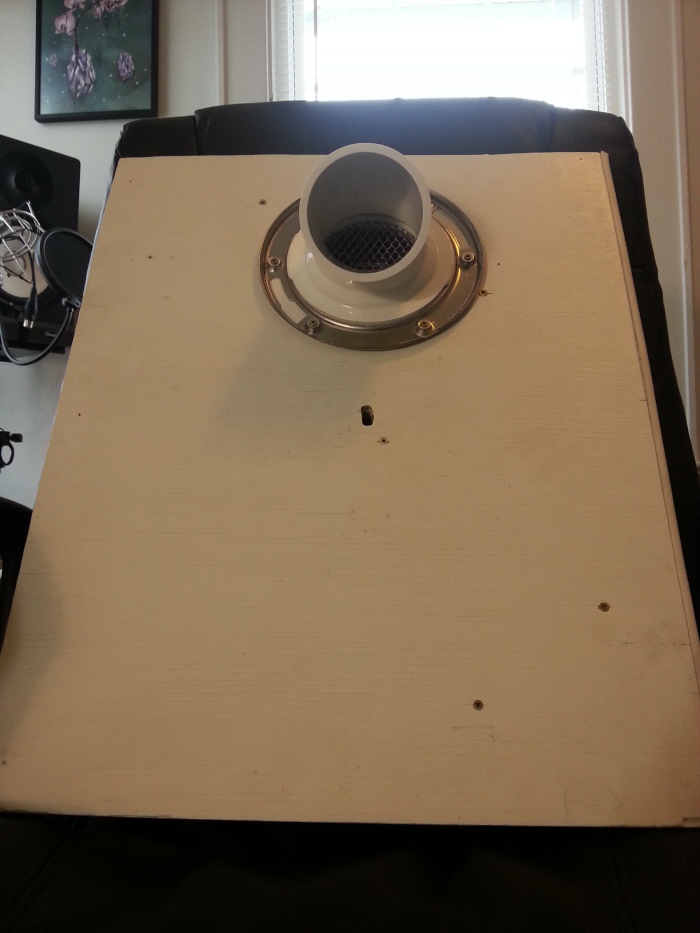
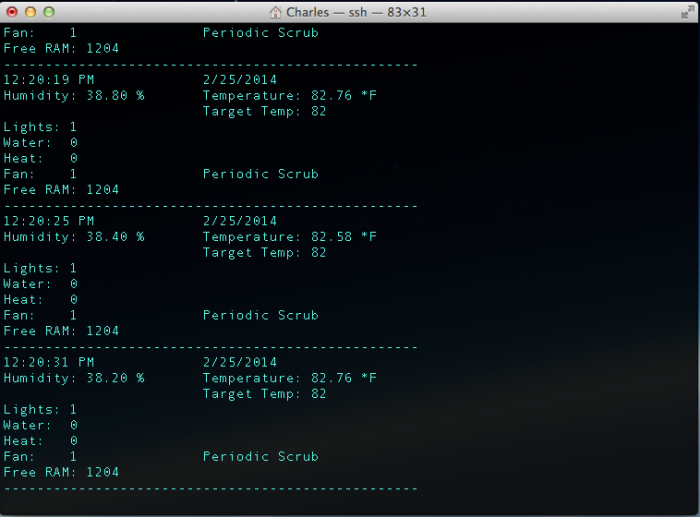
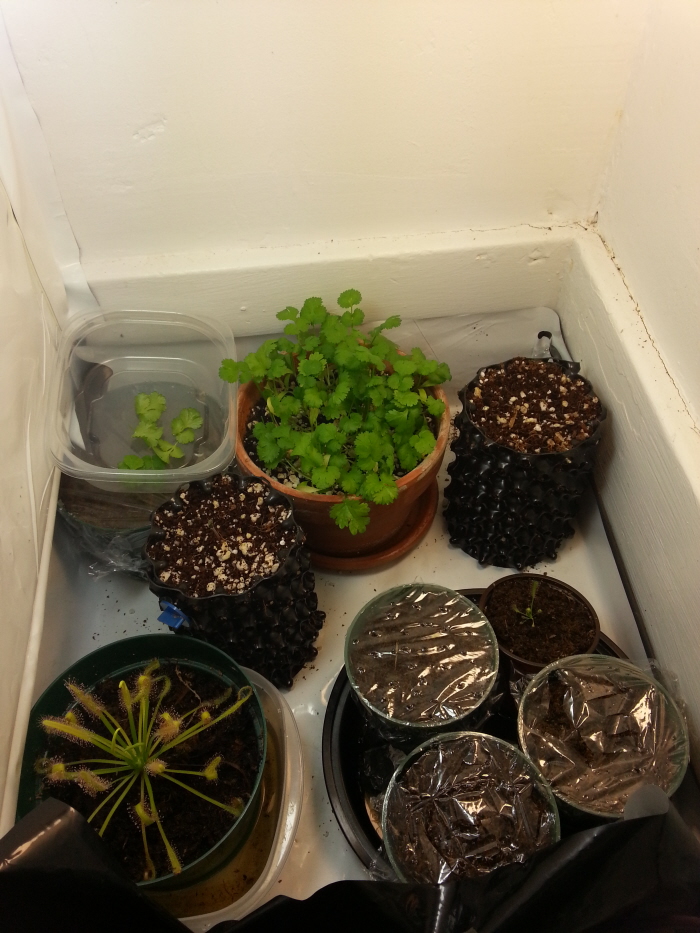
Living in a place like Rochester, New York one thing you have to get used to is going for long stretches without seeing much sun. Unfortunately, explaining this situation to the herb garden on my windowsill did little to prevent my plants from stretching and slowly withering. I initially combatted this problem with a 60 Watt CFL bulb and a timer, which produced much better results than sunlight alone. As I prepared to leave town for my four week winter break, however, it occurred to me that without a human around to care for them my plants would soon die out. With that my Automated Plant Nursery project was born. The system provides automated lighting, heating, watering, air circulation, and carbon dioxide enrichment to a garden of about 5 cubic feet. It has successfully grown cilantro, thyme, garlic chives, sundews, and a venus flytrap. The system needs no human interaction aside from the occasional filling of a 5 gallon water bucket.

Charles Alexander
Mechanical Engineer Seattle, WA