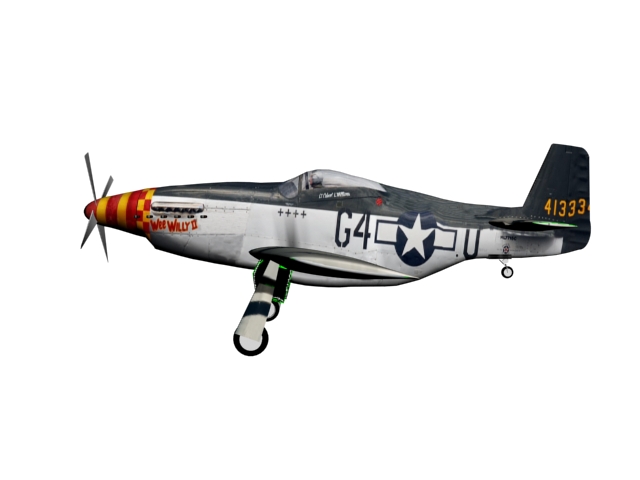
Top view finished model - This is the top view of my finished product.
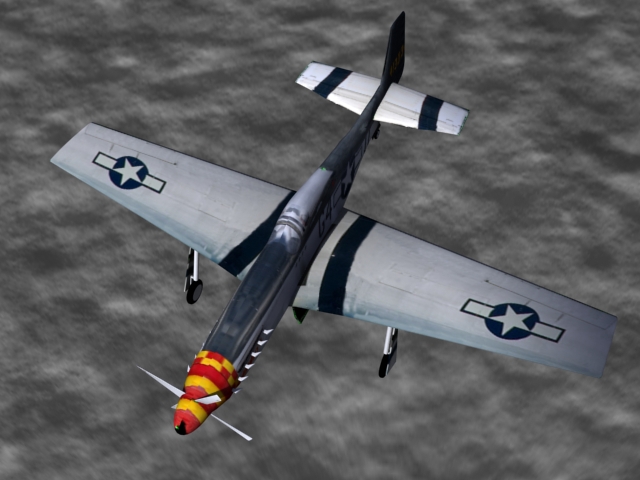
Bottom View finished model - This is the bottom view with the 3D background
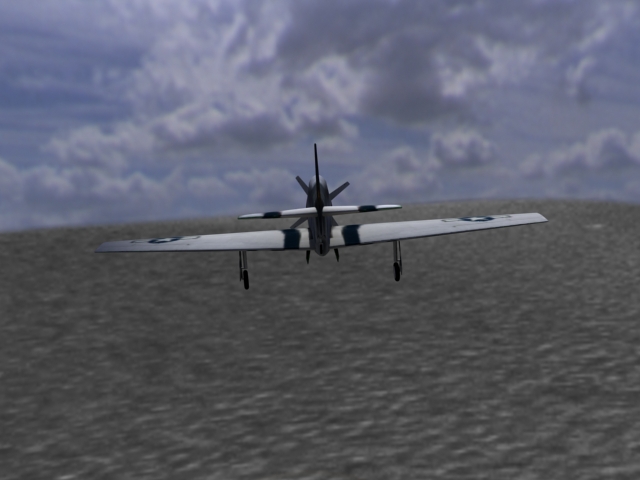
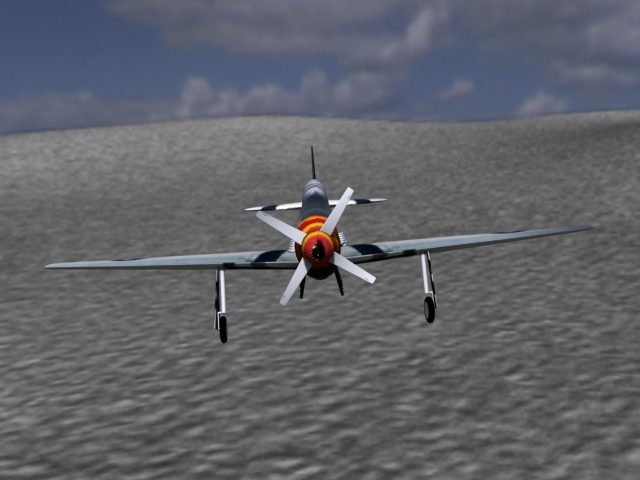
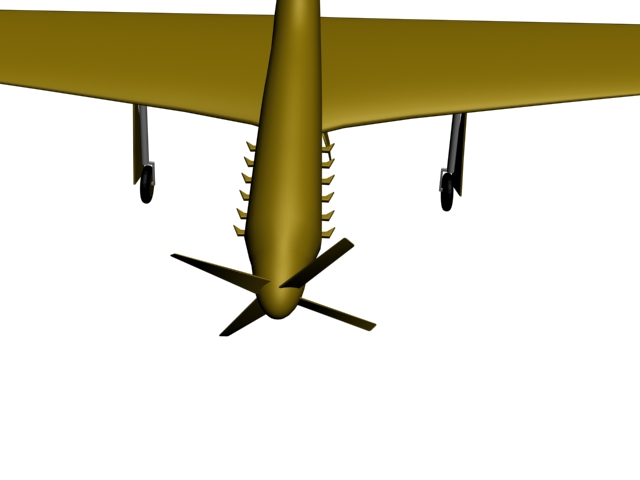
Rear view finished model - The rear view with the 3D background
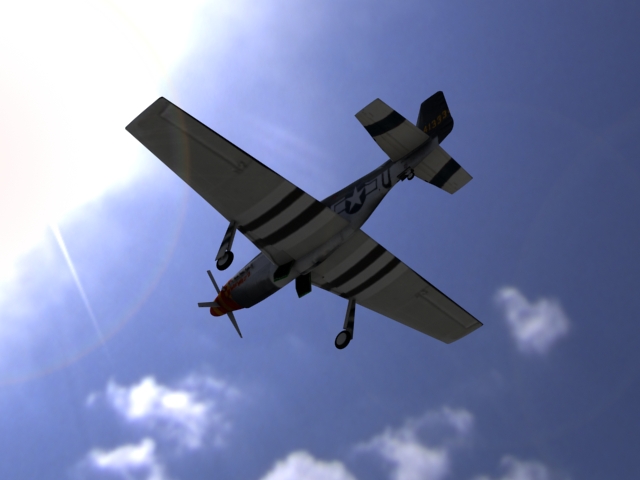
Front view finished model - I added a 3D background later and took a few pictures at different angles.
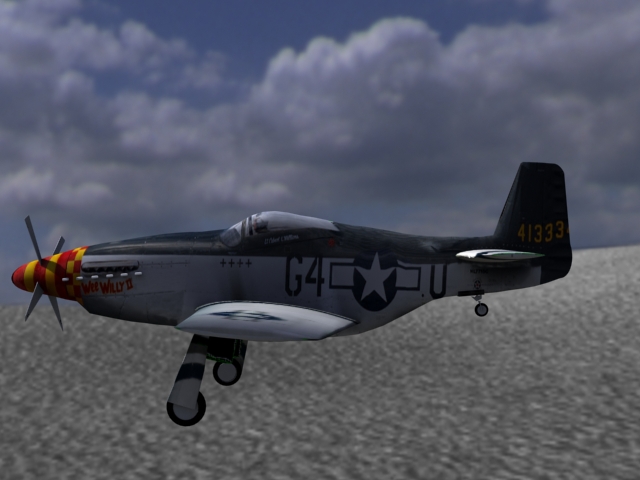
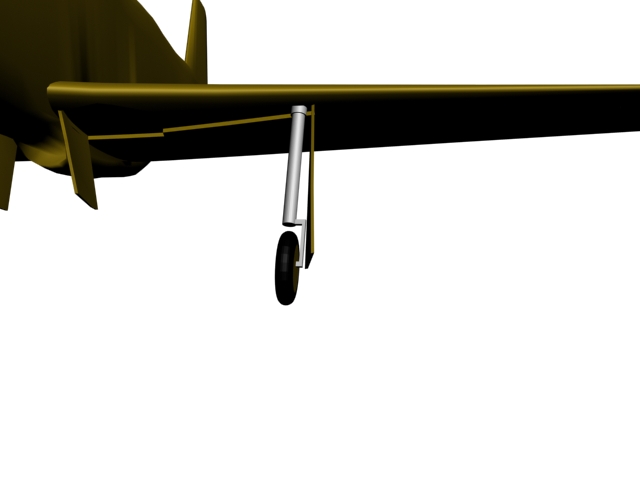
Left side view finished model - Left side view with the 3D background
Mapping Problems - As I was mapping, or adding the texture of the plain I ran into the problem of keeping my Textured map symmetrical.
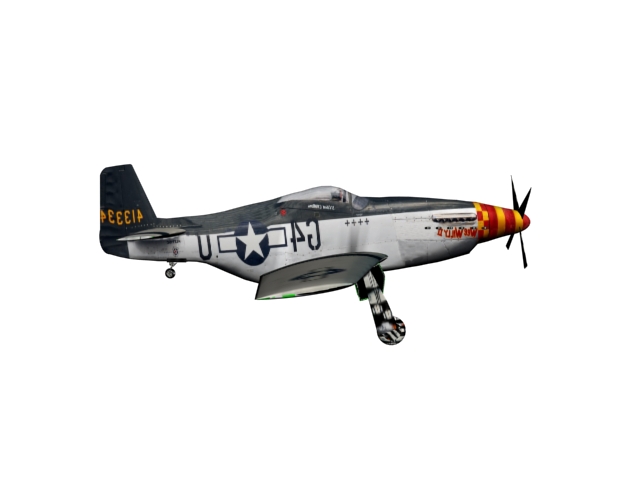
Mapping problems - I also had a problem with the mapping on the other side being backwards.
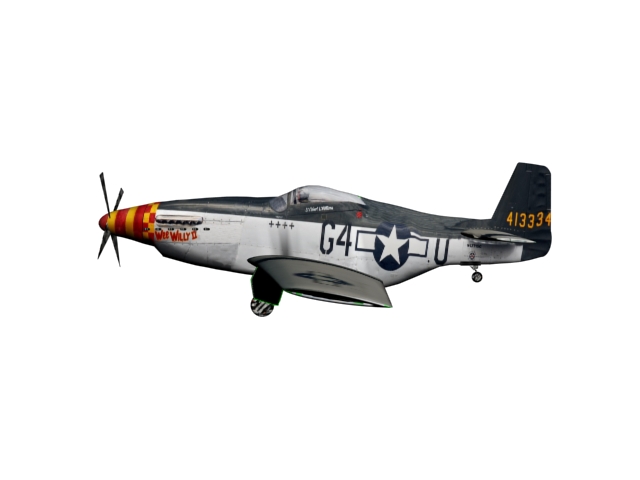
Mapping almost finished - I fixed those problems by saving the map as a targa file and putting it into photoshop. I was then able to create a texture that would fit the map, fix the symmetry and I was able to fix the backwards problem.
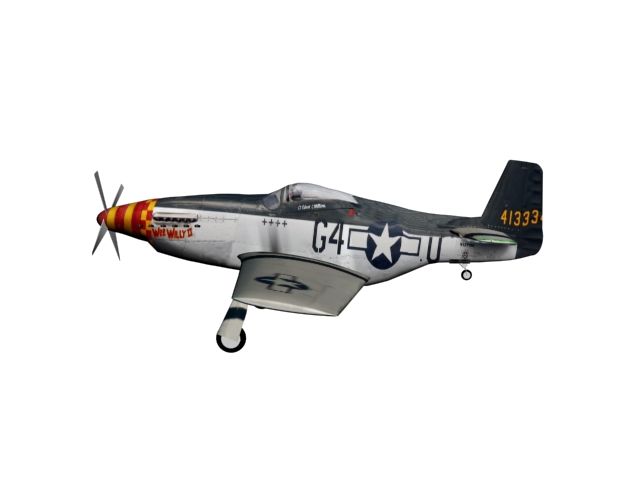
Mapping Finished - This is my finished model after it was mapped.

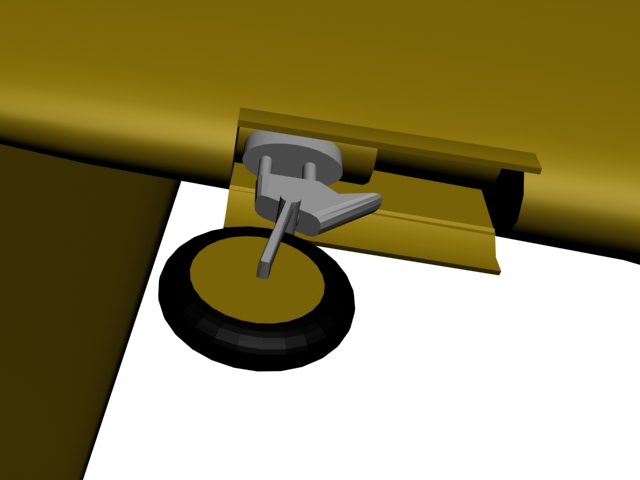
Building the Landing Gear - The construction of the landing gear was the hardest part. I had to find a way to project a shape onto the wings and cut it out, helping in the construction of the landing gear doors. I don't remember the name of the tool that helped me do this.
Pipes and the Propellar - I built the pipes and the propeller by drawing basic 2D shapes and extruding them to 3D shapes. Later I twisted the propeller to give is its correct form.
The Landing Gear - Next, I used the bevel and edit poly tools to create the landing gear along with some basic shapes for the wheels.
The Rear Landing Gear - Over time the model that I was using for a reference broke and I had no reference as to how the rear landing gear looked. This is what I came up with.
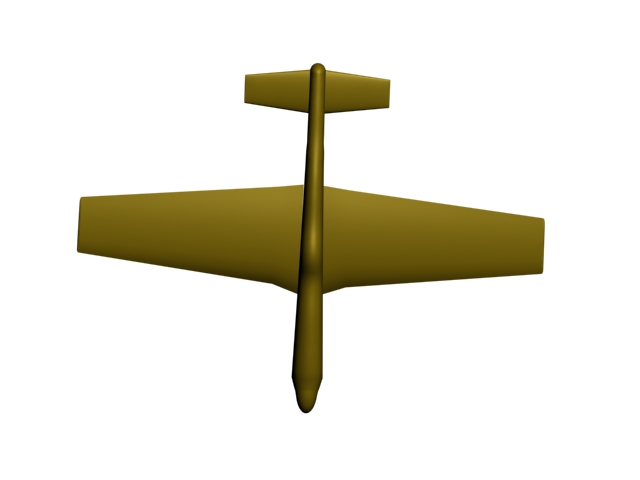
Top view of wings, elevators and fuselage - After connecting the wings to the fuselage, I was soon able to do the same with the elevators.
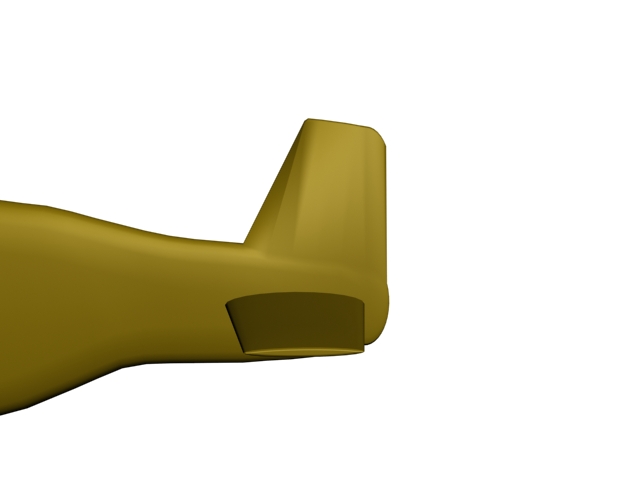
Tail construction - The construction of the tail and rudder were formed by using edit poly and by extruding upward some vertices on my plane. I was then able to position them in the right form.
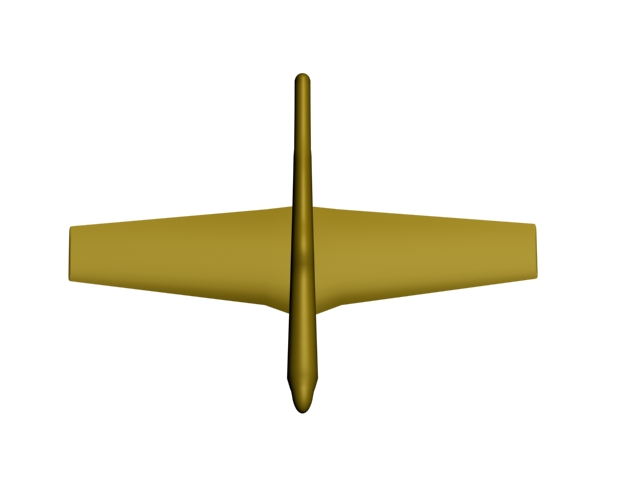
Upper view of the wings and fuselage - This is the top view of the fuselage and the wings after I got done with their construction.
Building the wings and elevators - This is the elevator. Using the same methods as the wings, I created the example above.
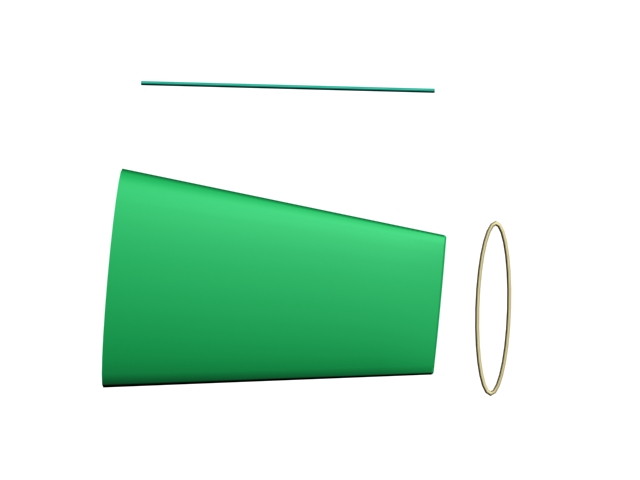
wing and elevator construction - The wings and the elevators have a thick connection to the fuselage and then a thinner end. I used the loft tool and the transform tools with edit poly create this basic shape for the wings and the elevators.
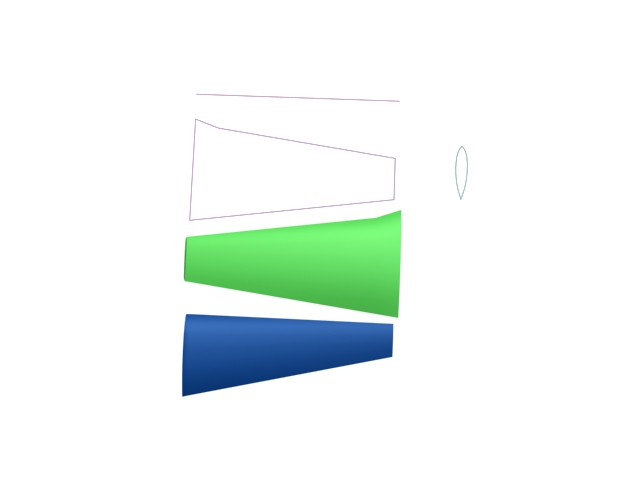
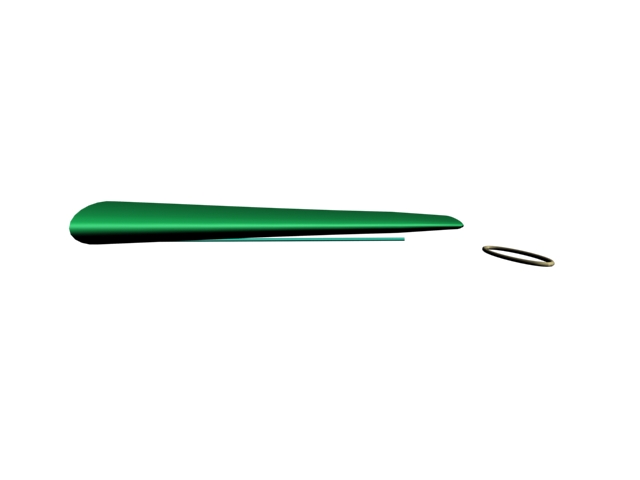
Building the wing - This is the wing construction. I used the loft tool in 3D studio max to create the wing. Using the basic oval like shape of a wing and lofting it to the straight line and then to the 2D form, I was able to create the wing. I eventually used the green wing you see above.
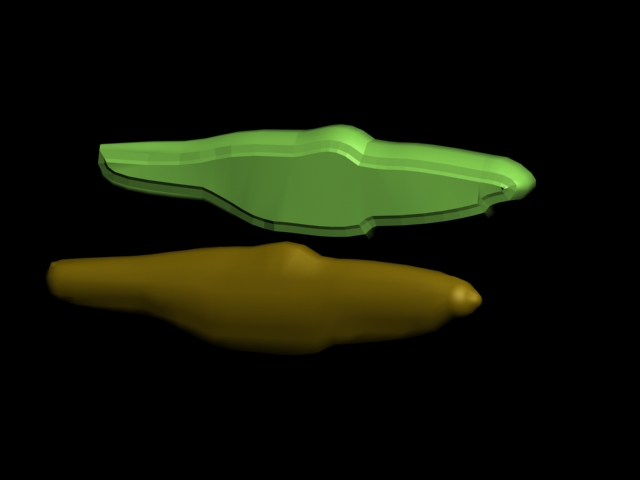
Constructing the fuselage - These were my first two attempts at building the fuselage. I ran into the problem of not being able to round off the side of the green one, and not being able to match up the gold one to my reference picture.
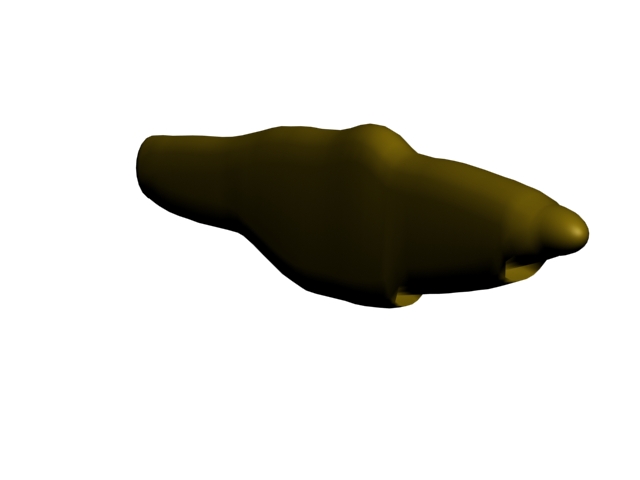
The Fuselage - The way this fuselage was built was by the use of geometry shaped like a pill. I cut it in half and modeled it to the shape of a photo that I had of a P51 Mustang.
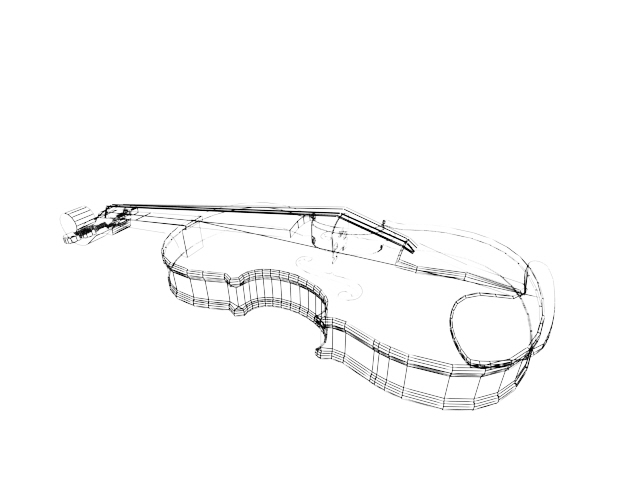
violin - This is a 3d model that I created in 3DSMax. The solid and the wire-frame are available. Using a image of a violin for a reference, I was able to create this violin.
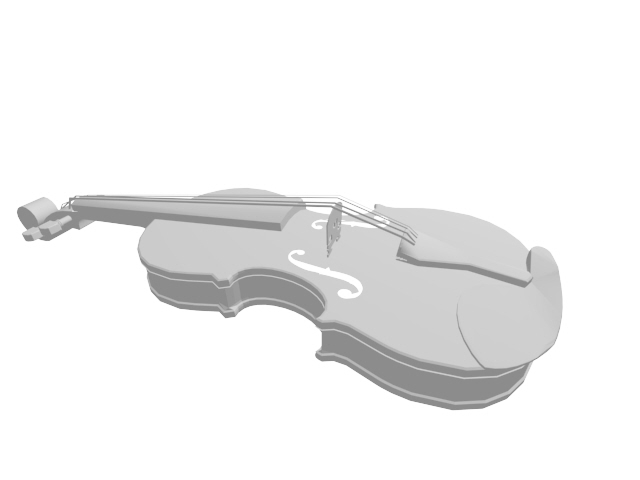
violin - This is a 3d model that I created in 3DSMax. The solid and the wire-frame are available. Using a image of a violin for a reference, I was able to create this violin.
gLike
3D modeling