
A beautifully coated screen

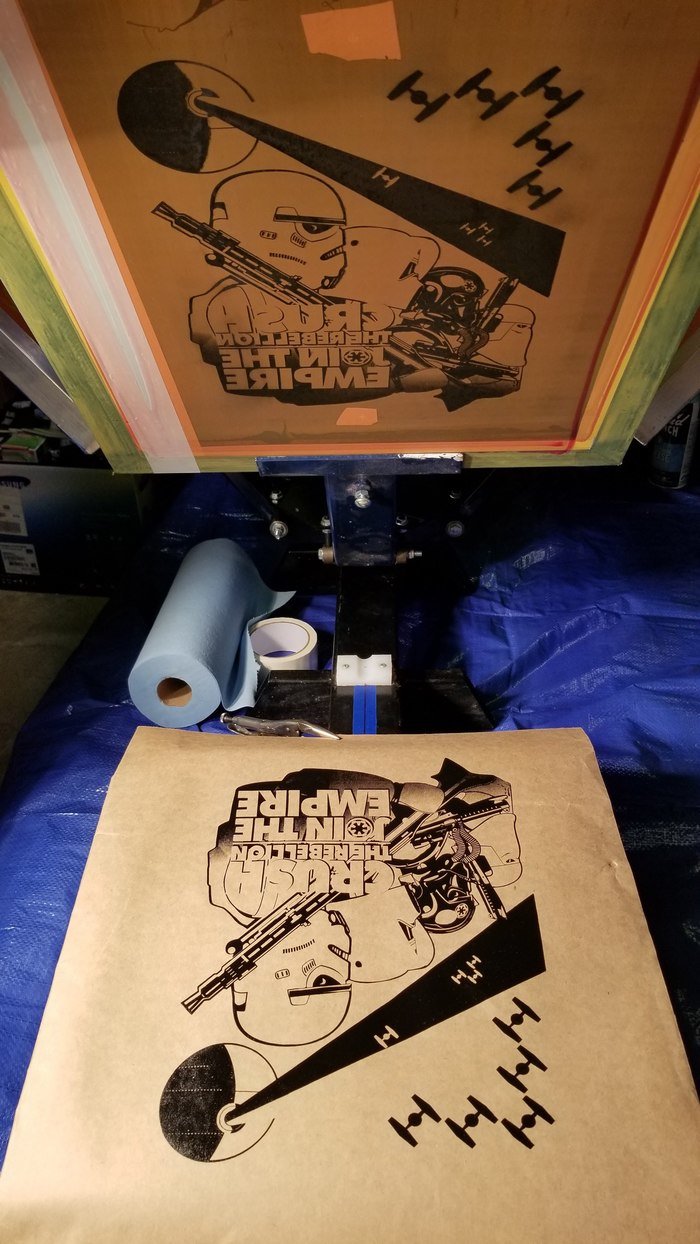
Exposing the photo emulsion with my image negative overlayed.The transparencies were doubled up to make them more opaque.

White base layer test print

Black layer test print


Black and white layer alignment test print

Woops

Light grey test print

4 Color registration test

A fraction of the test prints

I broke two screens before modifying my press to make it more stable and more accurate.

Once setting the white layer, the 3 other layers were aligned to that layer. This is the light grey alignment test.
Dark grey alignment to the white base layer

All 4 color alignment test

I wasn't getting the slight adjustments (micro registration) I needed so I modified the printer. These turnbuckles allowed for tiny adjustments forward, backward, tilt left and tilt right. A rubber mallet was used to lightly tap the screen left and right within the arm clamps.

First 4 color test prints on fabric

The press arms would pop free of the magnets and drop if the printer was jostled. Bungee cords were installed as a safety measure to prevent that. Between the cords and tightening the arms pivoting bolts, the arms didn't drop again after that.

The design of the press clamps was inadequate. Tightening one side a bit more/faster than the other side would result in the screen frame twisting and throwing off the registration (alignment). Metal decking ties were used to equalize the pressure between the clamps. It wasn't perfect but it greatly reduced registration misalignment.

Metal decking tie installed under the clamps and on top of the screen frame

(1st Layer) White base layer

(2nd Layer) Flashing the first layer makes for a more opaque second white layer and reduces the overall thickness of the ink.

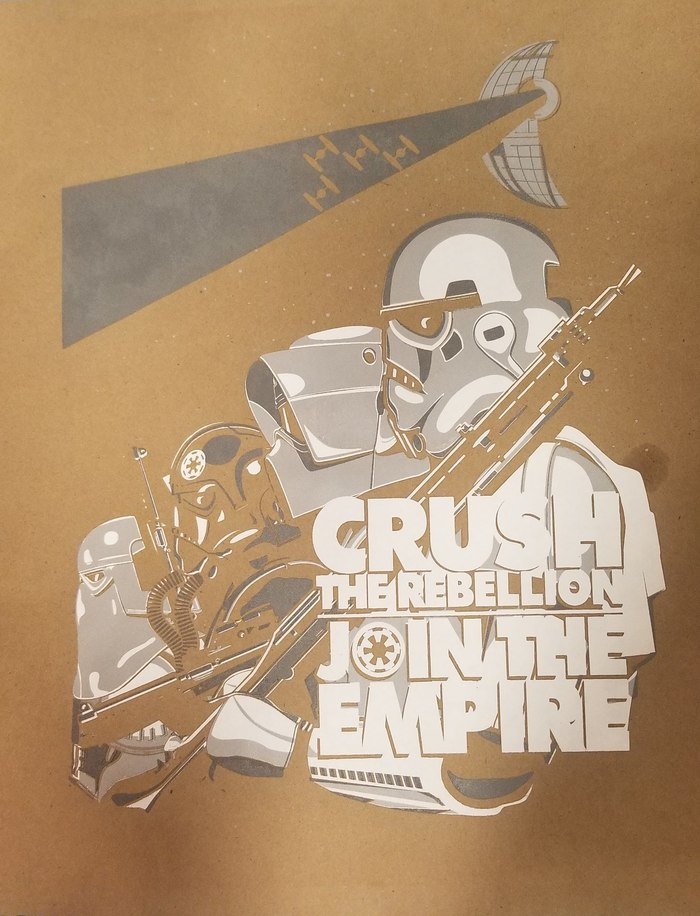
(3rd Layer) Light grey was the 2nd color used but 3rd layer. No under base was used on the background elements so they wouldn't stand out, distracting from the foreground. This technique was used to get the appearance of more than 4 colors and add depth.

(4th Layer) The 4th layer of ink was dark grey. Much of this layer didn't have an under base since they were background elements and a thinner overall print was desirable. The inks used were all very opaque plastisol.

(5th-6th layers) The black layer was printed twice. A black layer was printed, flashed, and then printed again. This made the black on black elements show up. The first layer was in the shirt fibers and the second sat on top of that, adding the desired sheen.


After heat setting the ink, these gifts to friends and family are ready to withstand many years of wear & tear.

gLike
Crush The Rebellion | Screen Printed Shirt
I wanted to challenge my screen printing and design skills and be able to show the screen printing process. This 4 color 6 layer print did just that.