
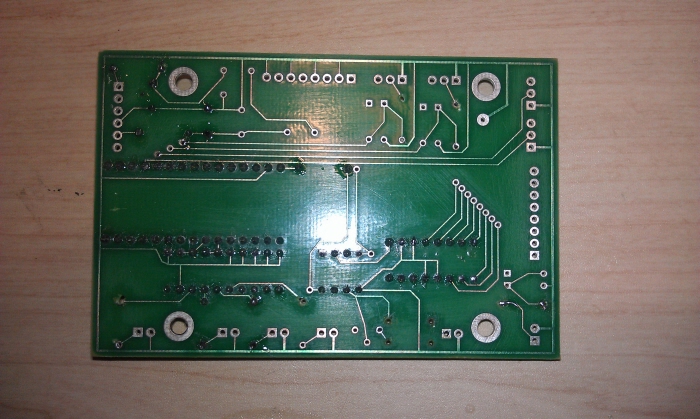
pcb layout.
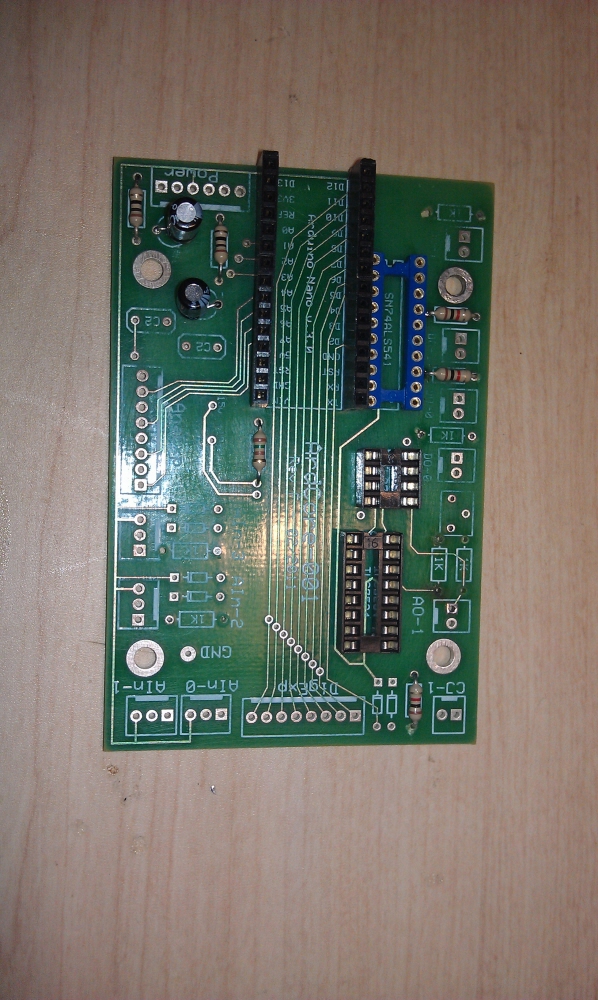
Standoff headers to seat the Arduino u-controller are soldered into place.

Using IC DIP sockets is a good practice in that IC's can be easily swapped or replaced if need be.

The core u-controller of this module is the Arduino Uno. It's small footprint makes it a great solution. There is a mini usb connector which serves as an interface to upload firmware and software programs onto the Arduino.

Mostly because they looked great, and seemed a bit more modern, I chose to order Neutrik switched and un-switched 1/4" TR jacks for this project. I have found these connectors to be more problematic than just using the plain old fashioned square TR jacks that are more common.


I didn't find a template online for this module. Masking tape provides a night white surface for which to sketch upon. The tape also protects the panel from scarring when in the drill press.

The expander panel, drilled and labeled. Slots for 1/4" jacks and LED indicators are ready to be filled.


I ordered the female MTA connectors from Mouser.com and affixed AWG 20 stranded wire to each. I had to use a small and thin flat head screw driver to snap the wires into the MTA connectors. If I were doing this more often, I would opt for purchasing the $60.00 crimper tool, just to make the job a little easier. With MTA connectors of this type, also make sure you have the correct wire gate. One bad connection and your module wont work correctly.


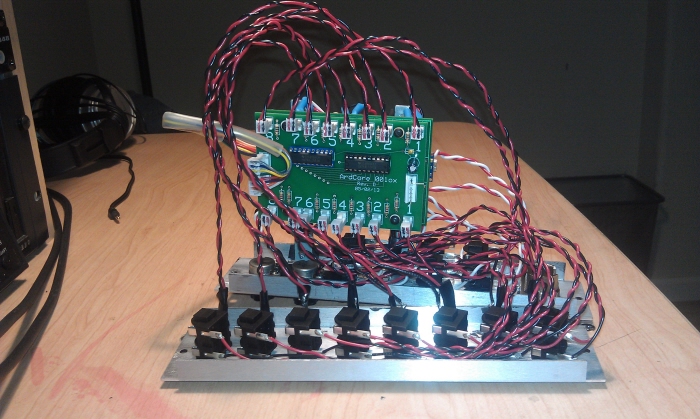

Ultra-bright LED's make the module pop! I have since been using LED bezels to affix the LED's into my modules. Here, I think I substituted some heat gun glue behind each LED, within the panel.


gLike
Ardcore - Module
Arduino uController based, code programmable module. Includes 8 bit DAC, CV input, Clock Input, Analog output, and Digital output. An expansion module adds 8 additional outputs which are well suited for for applications such as gate sequencing or creating random triggers, etc.
View Website