

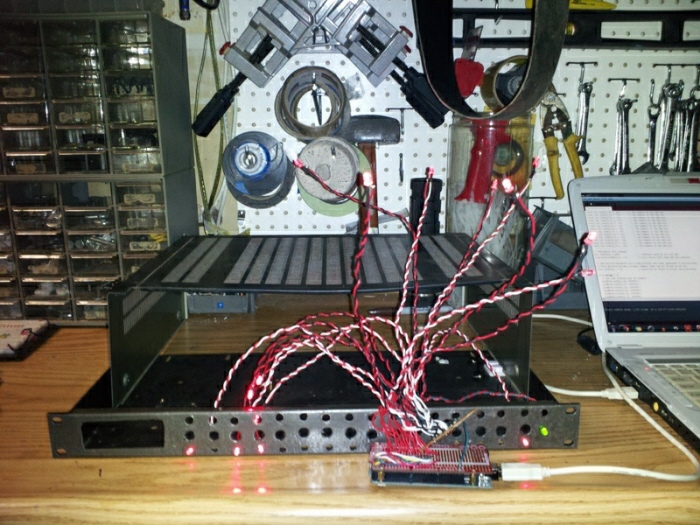
Breadboard proof of concept.


Simple midi I/O socket, without opto isolation. Works for debug and prototype but ill advised for the final version.

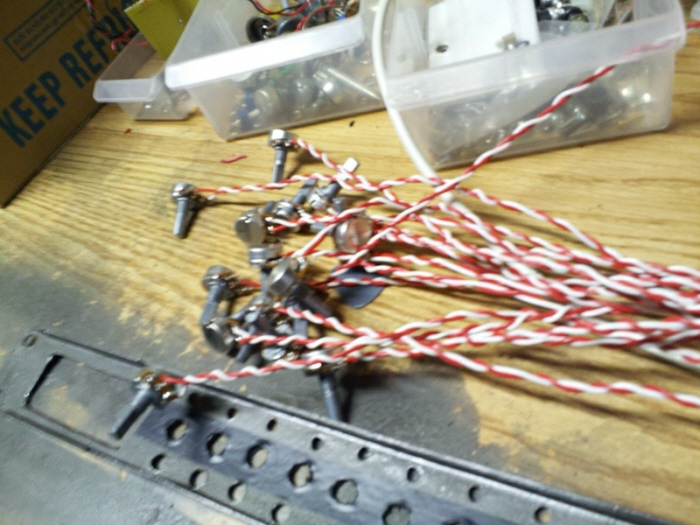
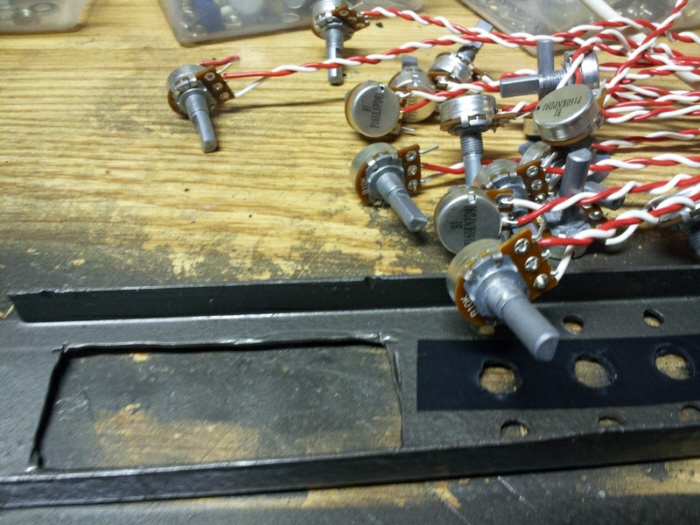
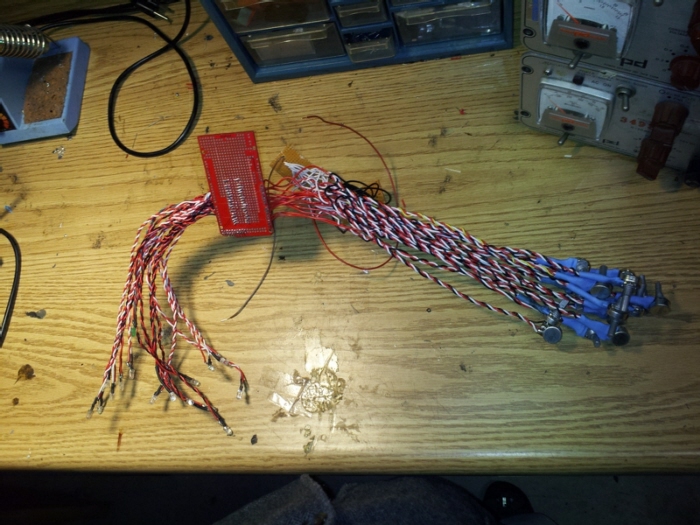
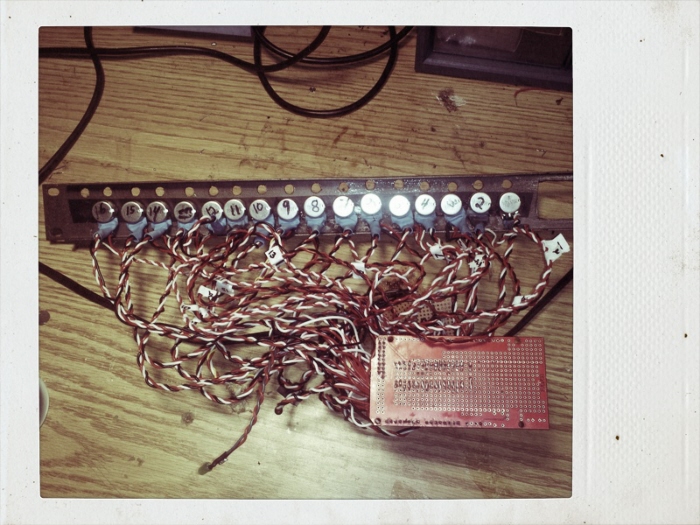
This was a project I embarked upon right out of college. It's a great proof of concept, but the wires become a spider web of complexity rather quickly. The concept of strap wiring was unheard of to me at the time, so things got a little hairy behind the panel.


Ironing the circuit onto a copper clad board for pcb etching prep.

Here you can see an excellent image transfer and a clean etch. Even the holes in the pads are clear. This will help guide the drill bit into position when drilling the holes for components. Save a lot of bits. I can easily drill the entire board without breaking a single bit.

Goo Gone gets the board nice and clean and ready to drill.


Soldering the components on. I like to use some solder flux on the board before I solder each node. It helps the solder flow and ensures good contact with the copper. No shorts is always the goal.

Dip sockets, resistors, standoffs, caps, beads and jumpers. Awaiting a few more parts to come in.


Strap wiring all the grounds in. Keeping the jumper cable clutter to a minimum this time around.

Here I have moved a switch and added a pushbutton for use as a function programmers button. Still waiting for those 5 pin midi din sockets to arrive.

Everything wired up and ready to connect to the pcb using female jumper wires. I'm still waiting on two midi jacks, and I need to wire up the rotary encoder.

IC's are in. Still waiting on some male headers to arrive and then it's time to program.


These little DAC break out boards are cheap and very handy for arduino projects. I've used two dacs on two separate addresses over the same bus. Works great. I get two note polyphony CV. Three would be even better.


Labels for functions.....
gLike
Arduino Step Sequencer(s)
Arduino based, 16 step midi sequencer. I've revisited this project to develop previous efforts into a cv/midi sequencer for my modular synthesizer. I will be building a new panel, adding pots/jacks/leds and switches, and then developing the code from then on. I'm using an Arduino Mega for maximum I/O pins and interrupts.
View Website