
YuSynth PCB trace. Thanks Yives! See link.
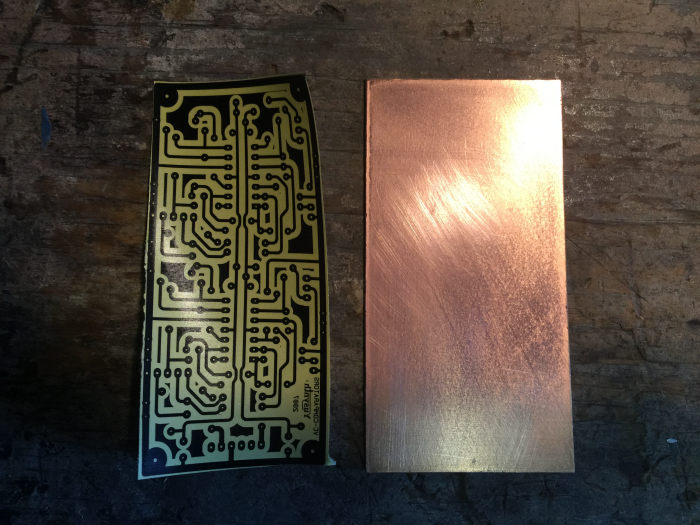
I have cut a copper clad board to be just the right size and I have printed the circuit with a laser printer. Use glossy paper, and print in greyscale.

Laying the print atop the copper. It's thin magazine style paper, so it wants to bend.
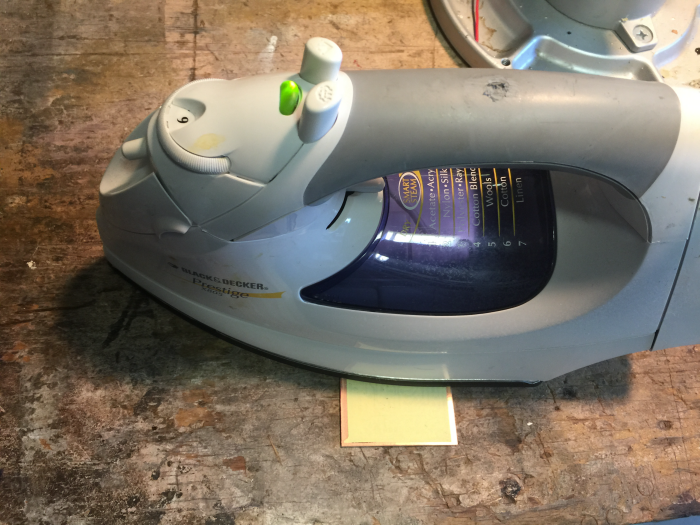
Hot iron on max heat. Mine goes to 11. Don't glide. Just cover the copper with iron and press hard. About 3 min high heat.

Nice and stuck.

Warm water bath time.

After a few min, I use my thumbs to scrub away the pulp of the paper, leaving just a thin rubbery film.

There is a film at the bottom that needs to be peeled away.

Just Ink and copper. Now it's ready for the enchant bath.

Makeshift stove top.

Time to heat the etchant solution. Works much faster when heated.

The corrosion happens in around five min. I'm able to wipe the copper away with a sponge with ease. Careful not to let sit too long in the etchant. Too much corrosion is not good.

Goo Gone or finger nail polish removes the ink trace.

A gentle sanding.

Set the DMM for continuity testing.
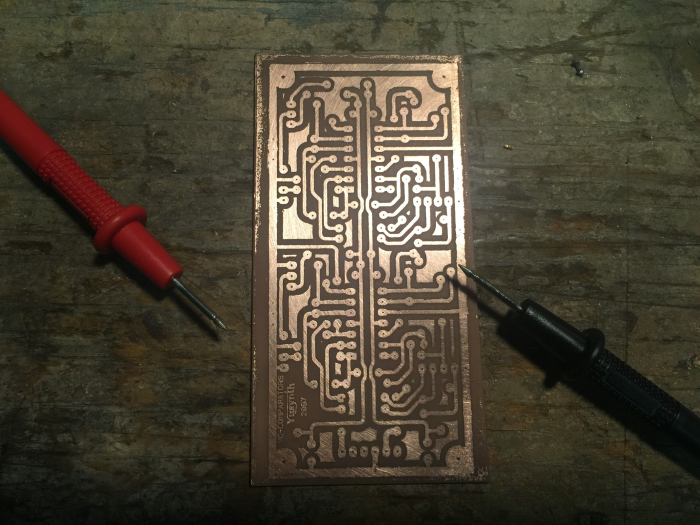
probe carefully for any suspicious areas which might be shorted.

15 min at the drill press putting the holes in.

Now, time for some components.

Moving along. Resistors, Diodes, and caps. More to go...


gLike
Comparator
Building the Yusynth Dual Comparator. Includes photos of the pcb etching process, step by step.
View Website